Thursday, Nov 14, 2024
How to create a payment form on WordPress
Forms
How to
Payment Form
Having the ability to collect payments online comes with many benefits such as increased sales, flexibility to meet customers online, reduced workload management, expanding your customer base, and customizing the checkout experience to match your company's branding.
After today’s article, you will be able to accept one time payments or recurring subscriptions with the following payment gateways: Stripe, Square, and/or Braintree. Be able to fully understand how to dynamically populate and calculate the payment forms total with a query string, product fields, pre-populated subscriptions, and/or a flat price. Sell a single product or multiple products in the same form, and adding images for each of your products.
In order to build a payment form, we will need the following plugins:
- 1. The Likeable Forms Core form builder for WordPress
- 2. At least one of the following Likeable Forms payment gateway integrations: Stripe, Square, and/or Braintree.
Building our payment form
To get started, let’s go ahead and add a form title, a text field which will be used for our name field, a phone field, and an email address field to our form.
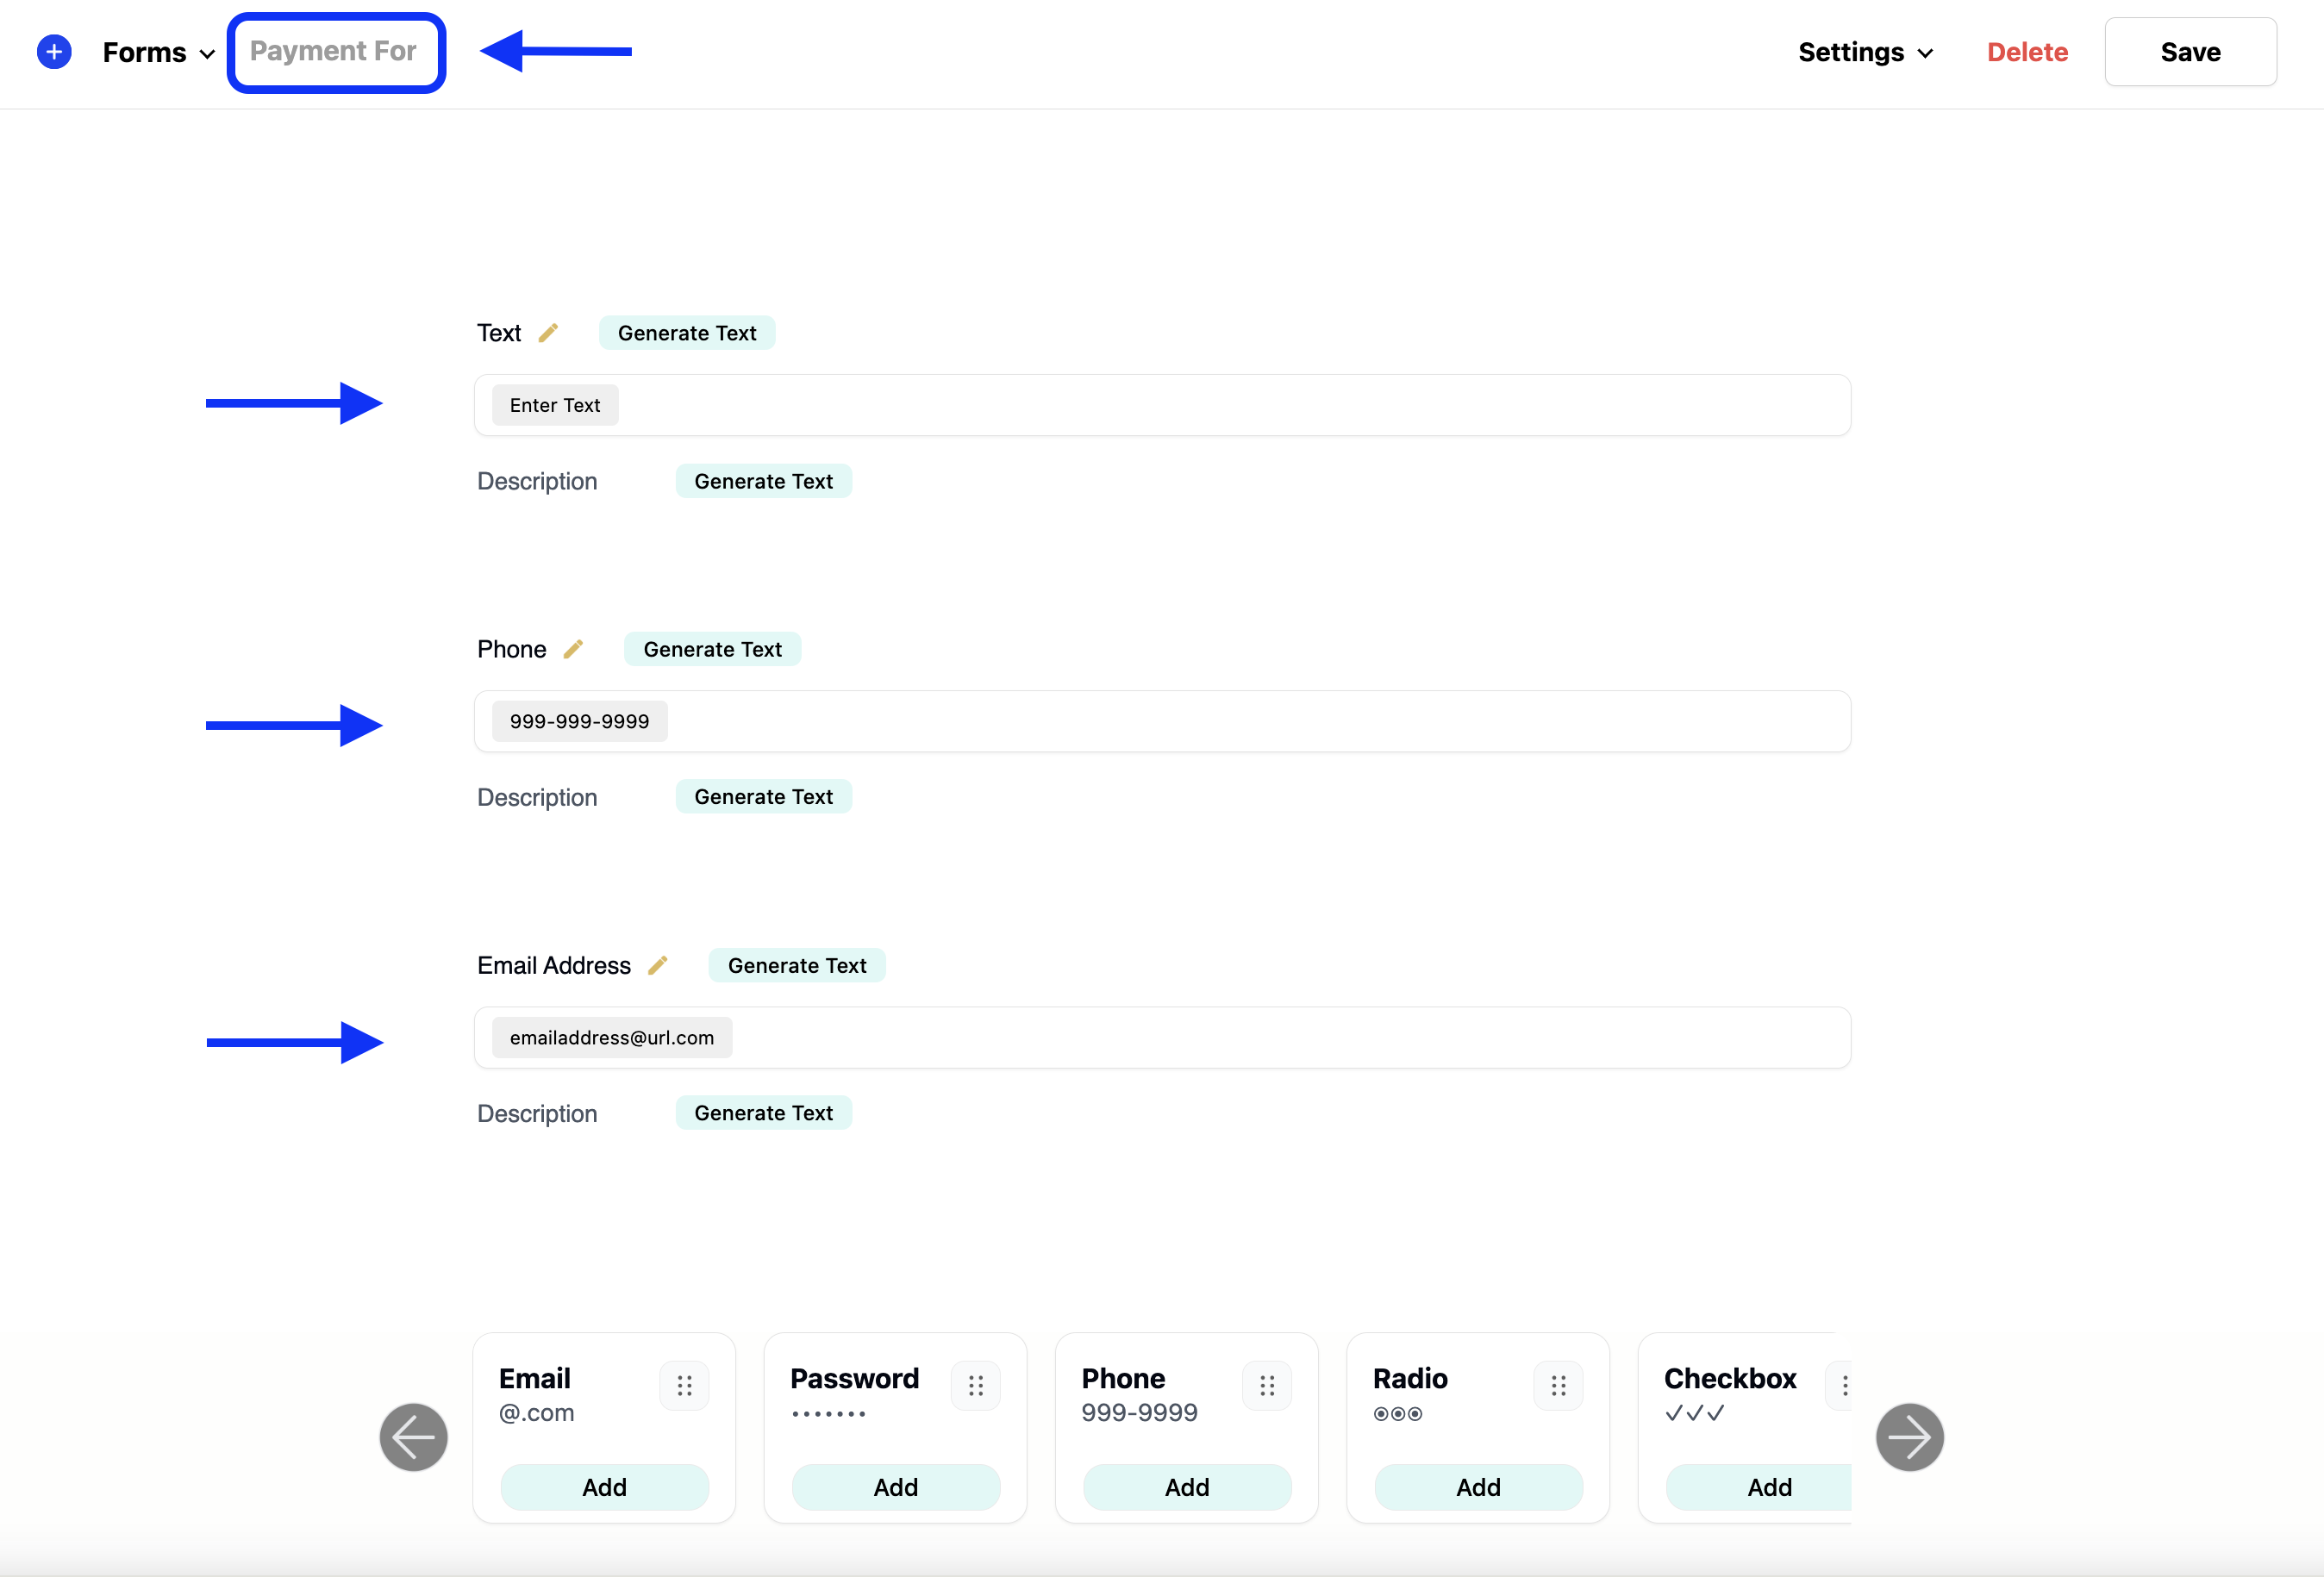
By adding these fields to our form, we can collect our customers' basic information, which will be used to complete the payment later. It’s important to note that credit card fields are not added manually to the form editor like other normal fields, and instead will be automatically added to the payment form at run time. Secure credit card fields are generated by the payment gateway for increased checkout security and will automatically appear only when the form has been loaded and the customer clicks continue to checkout. As a result, credit card fields will always be the last fields to appear on a form.
Enabling payments for our form
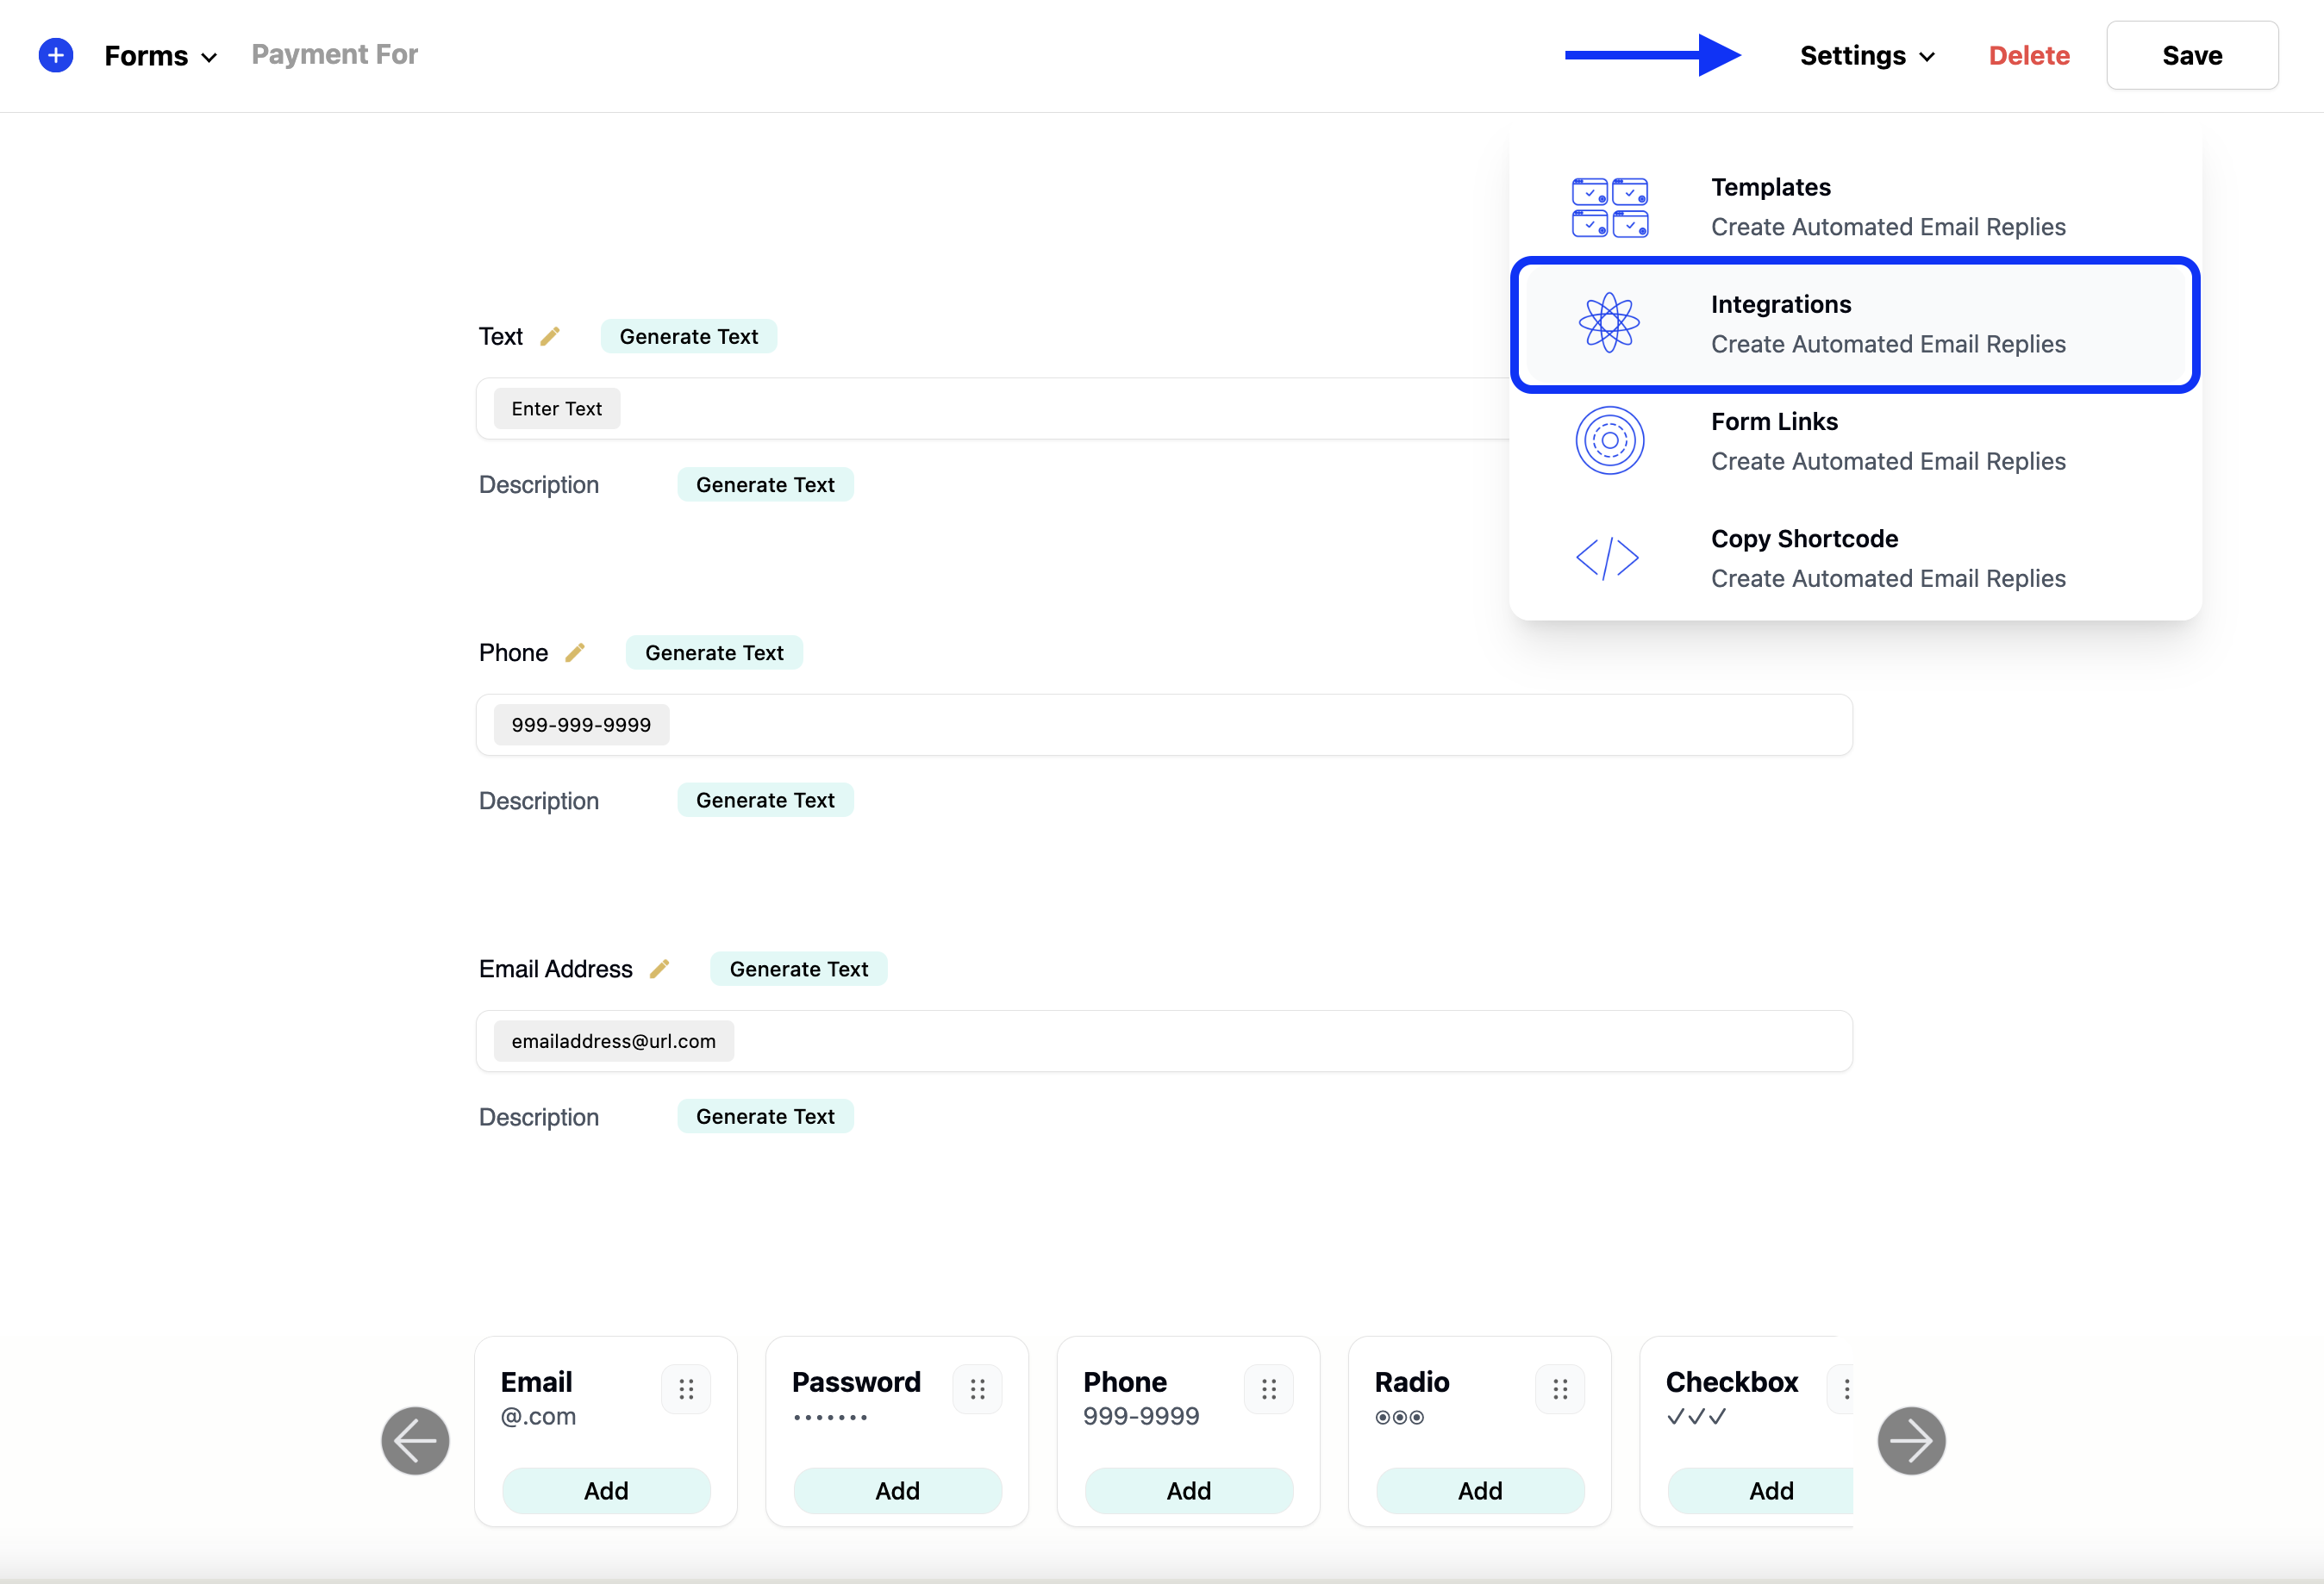
Before continuing building our form, we need to open our payment gateways plugin settings. To open your payment gateways settings modal, hover over the setting menu item located in the top right corner of the form builder, and then select the integration's menu item from the drop-down.
Next, click on the payment processors logo.
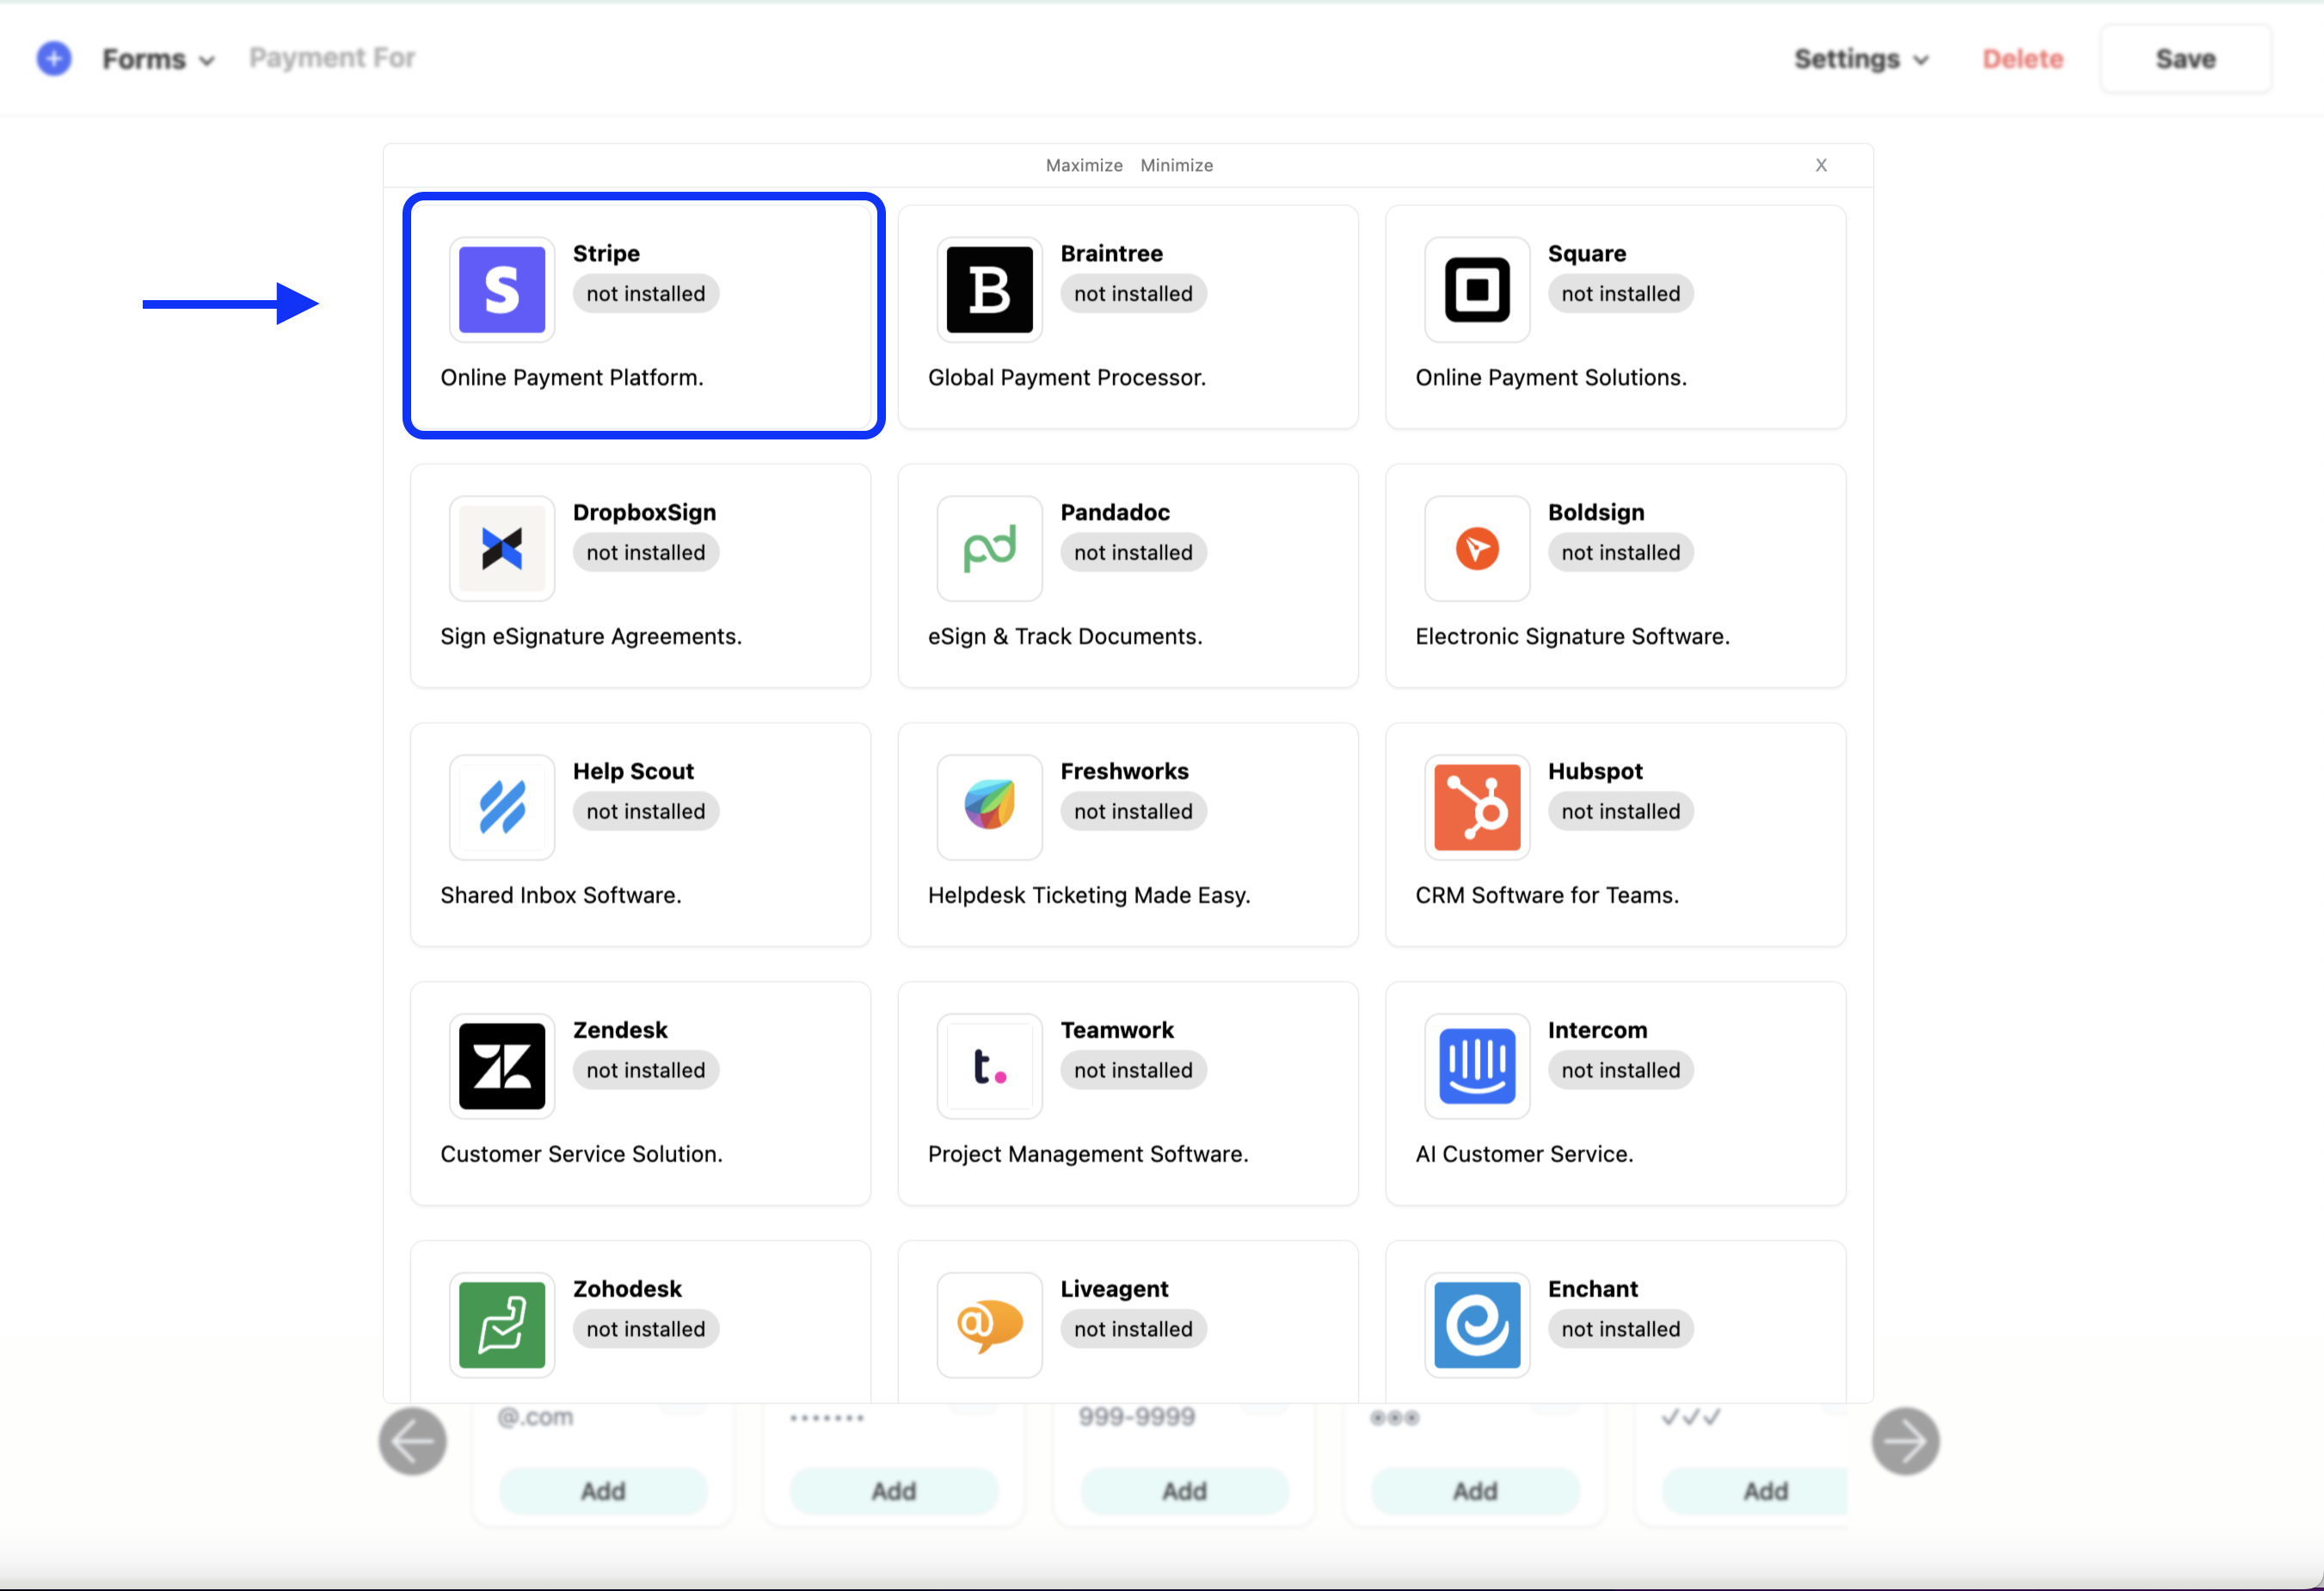
Please note: If this is the first time setting up a payment gateway integration, you will need to select the add license key button and paste in the keys being requested in order to access the payment settings. See how to locate my payments API keys.
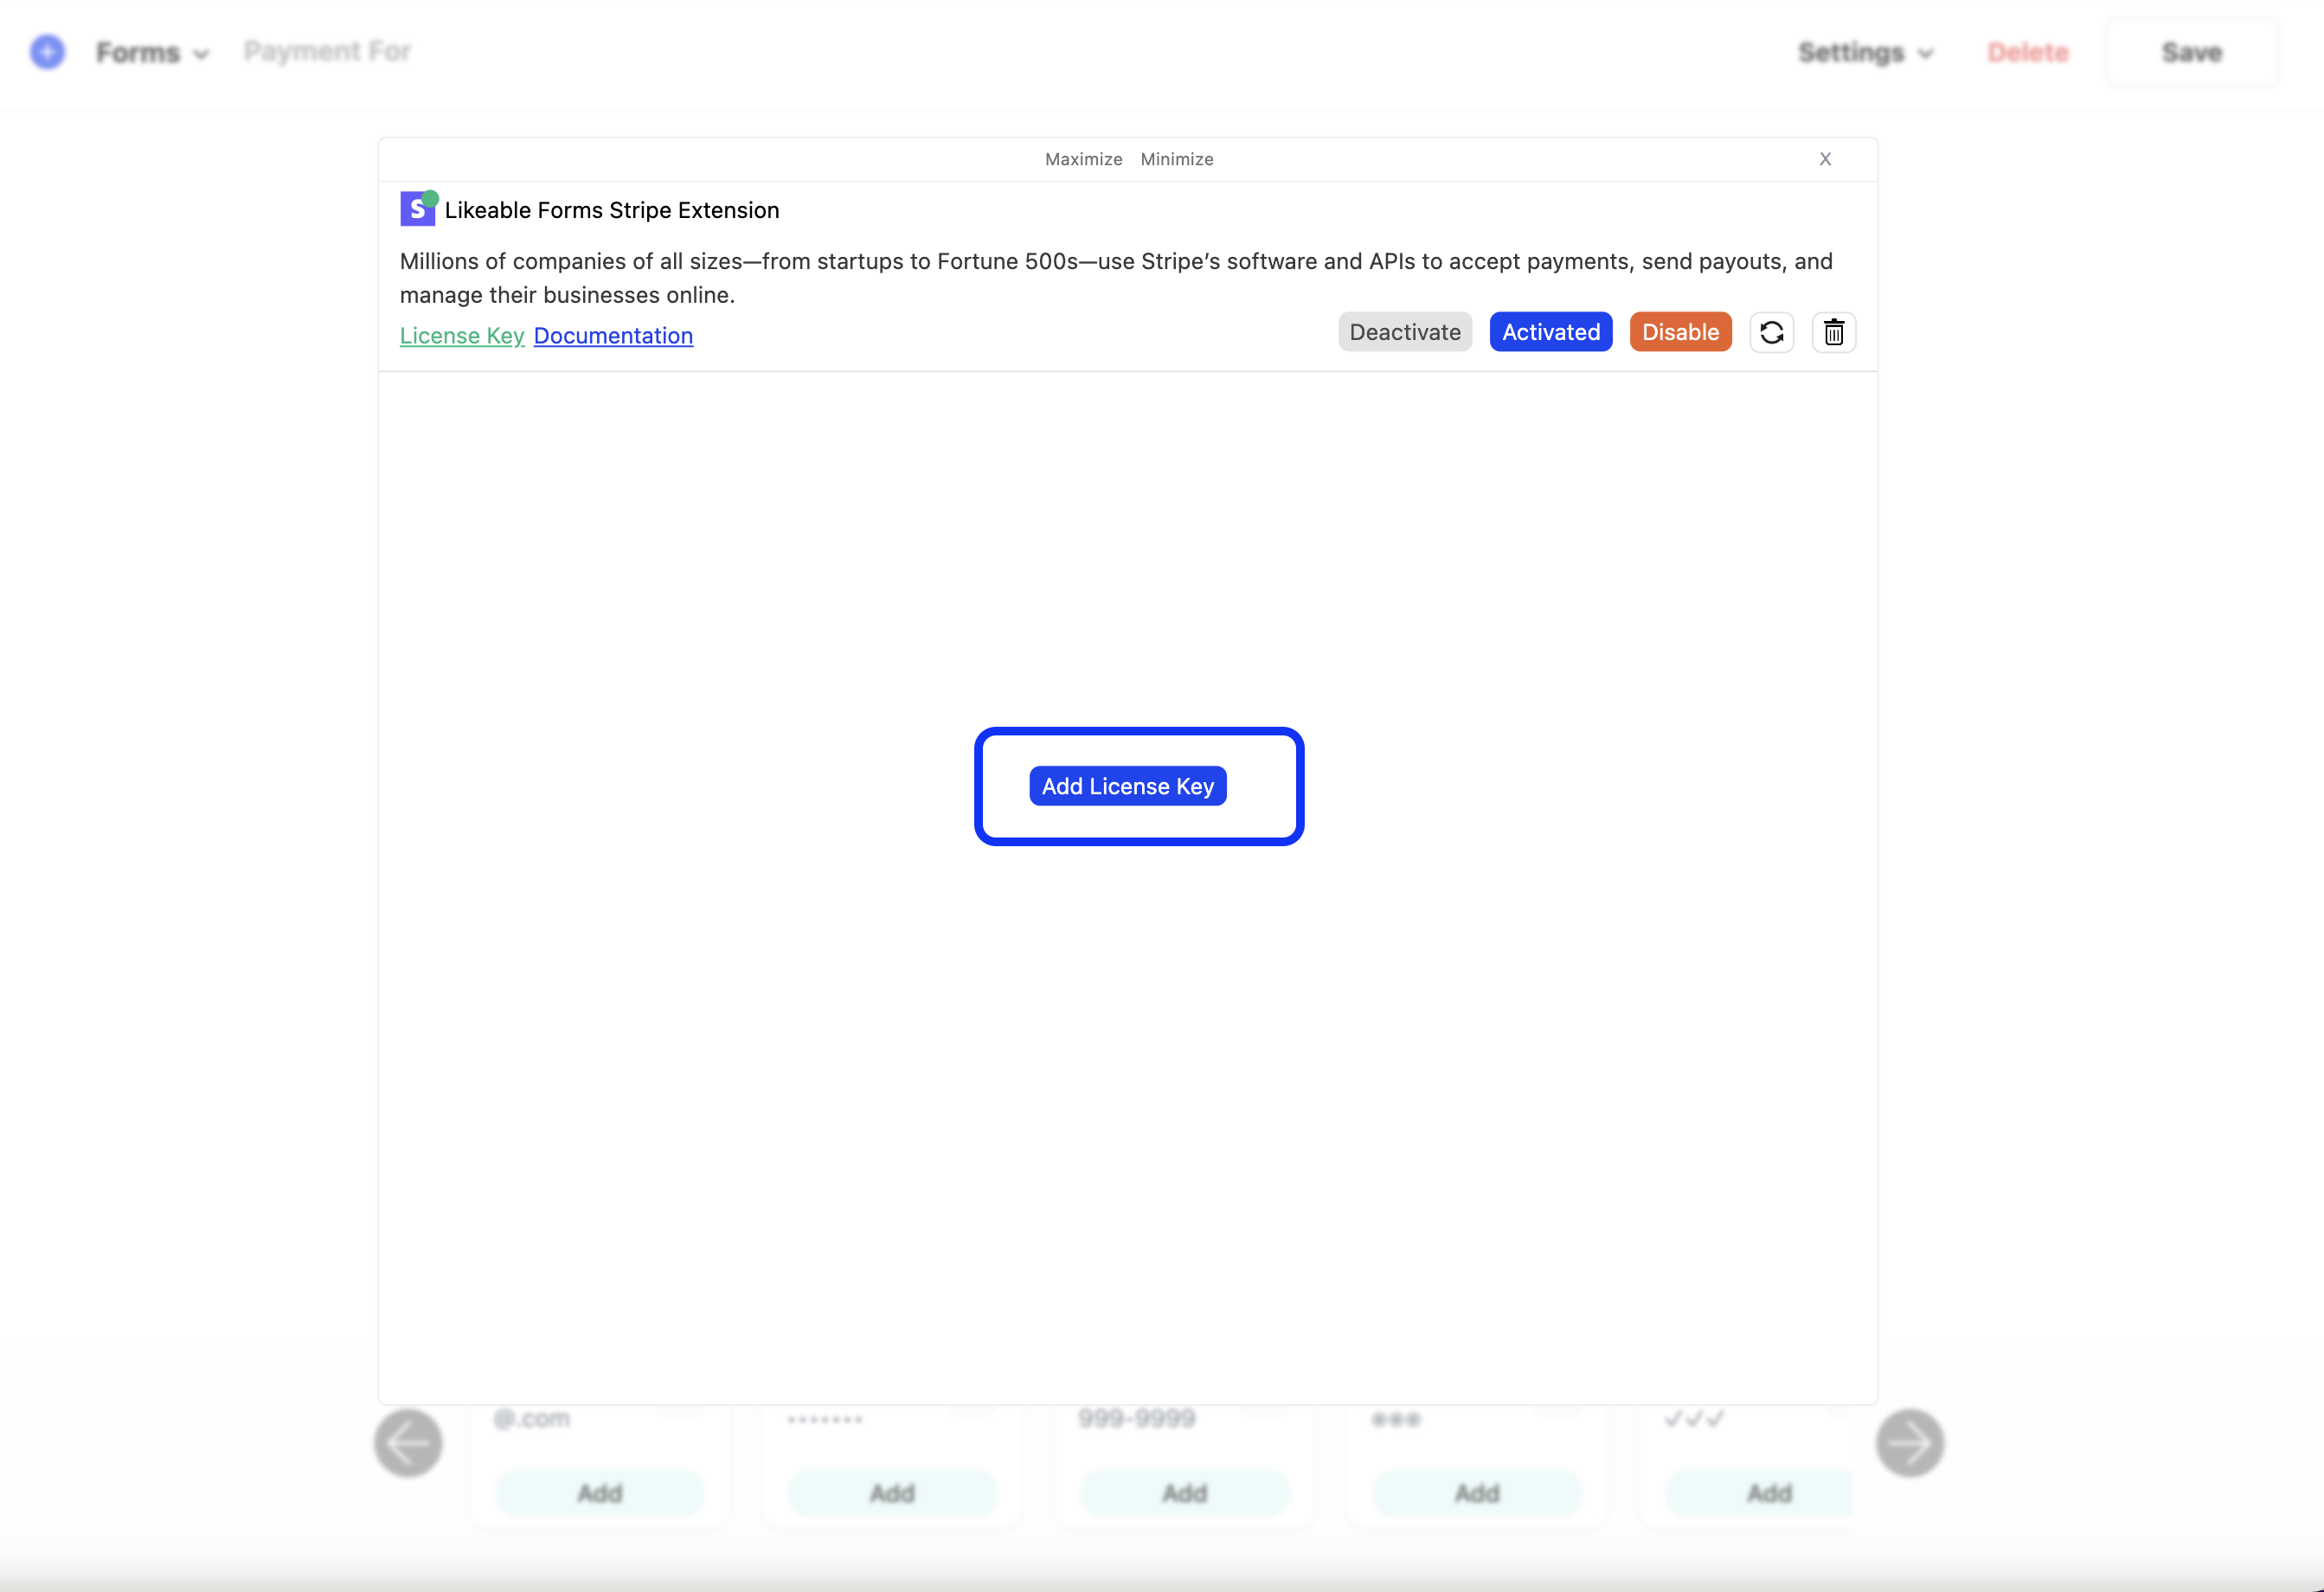
Once you’ve added your keys to the license key modal, we can now close the license key modal and enable our settings to continue setting up our payment form.
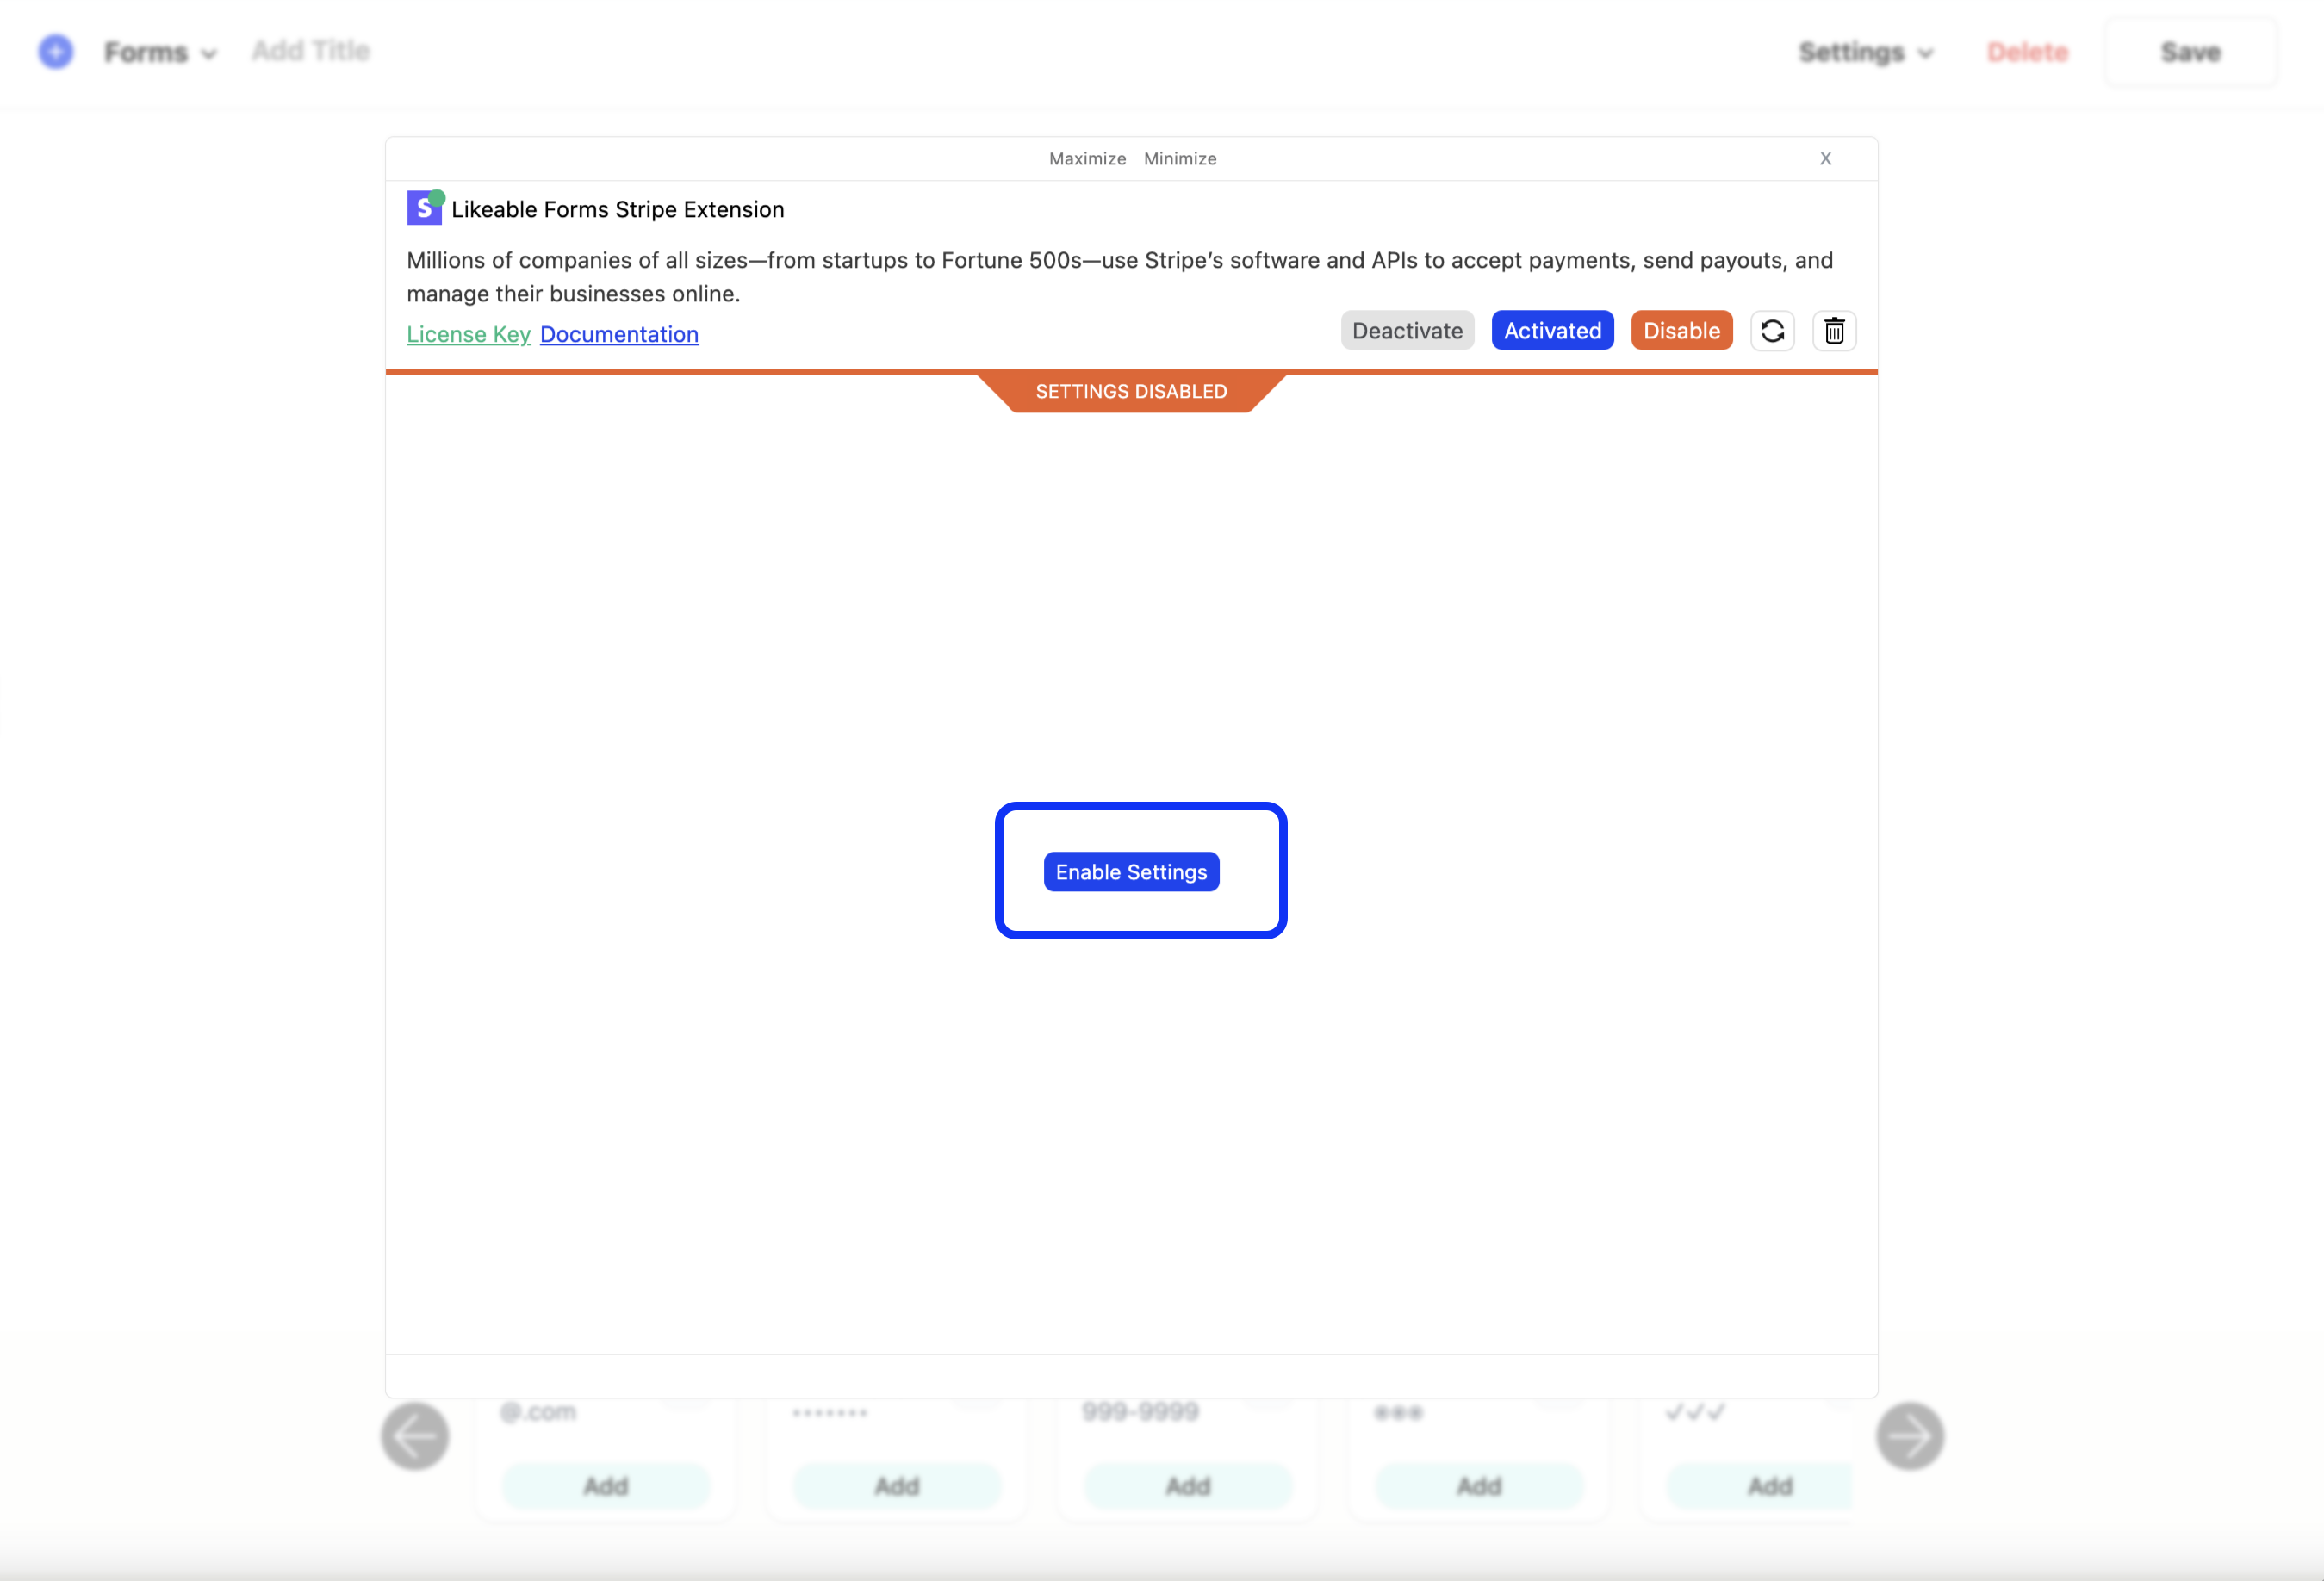
Calculating our payment forms total
The first field in our payment settings is determining how to calculate the price.
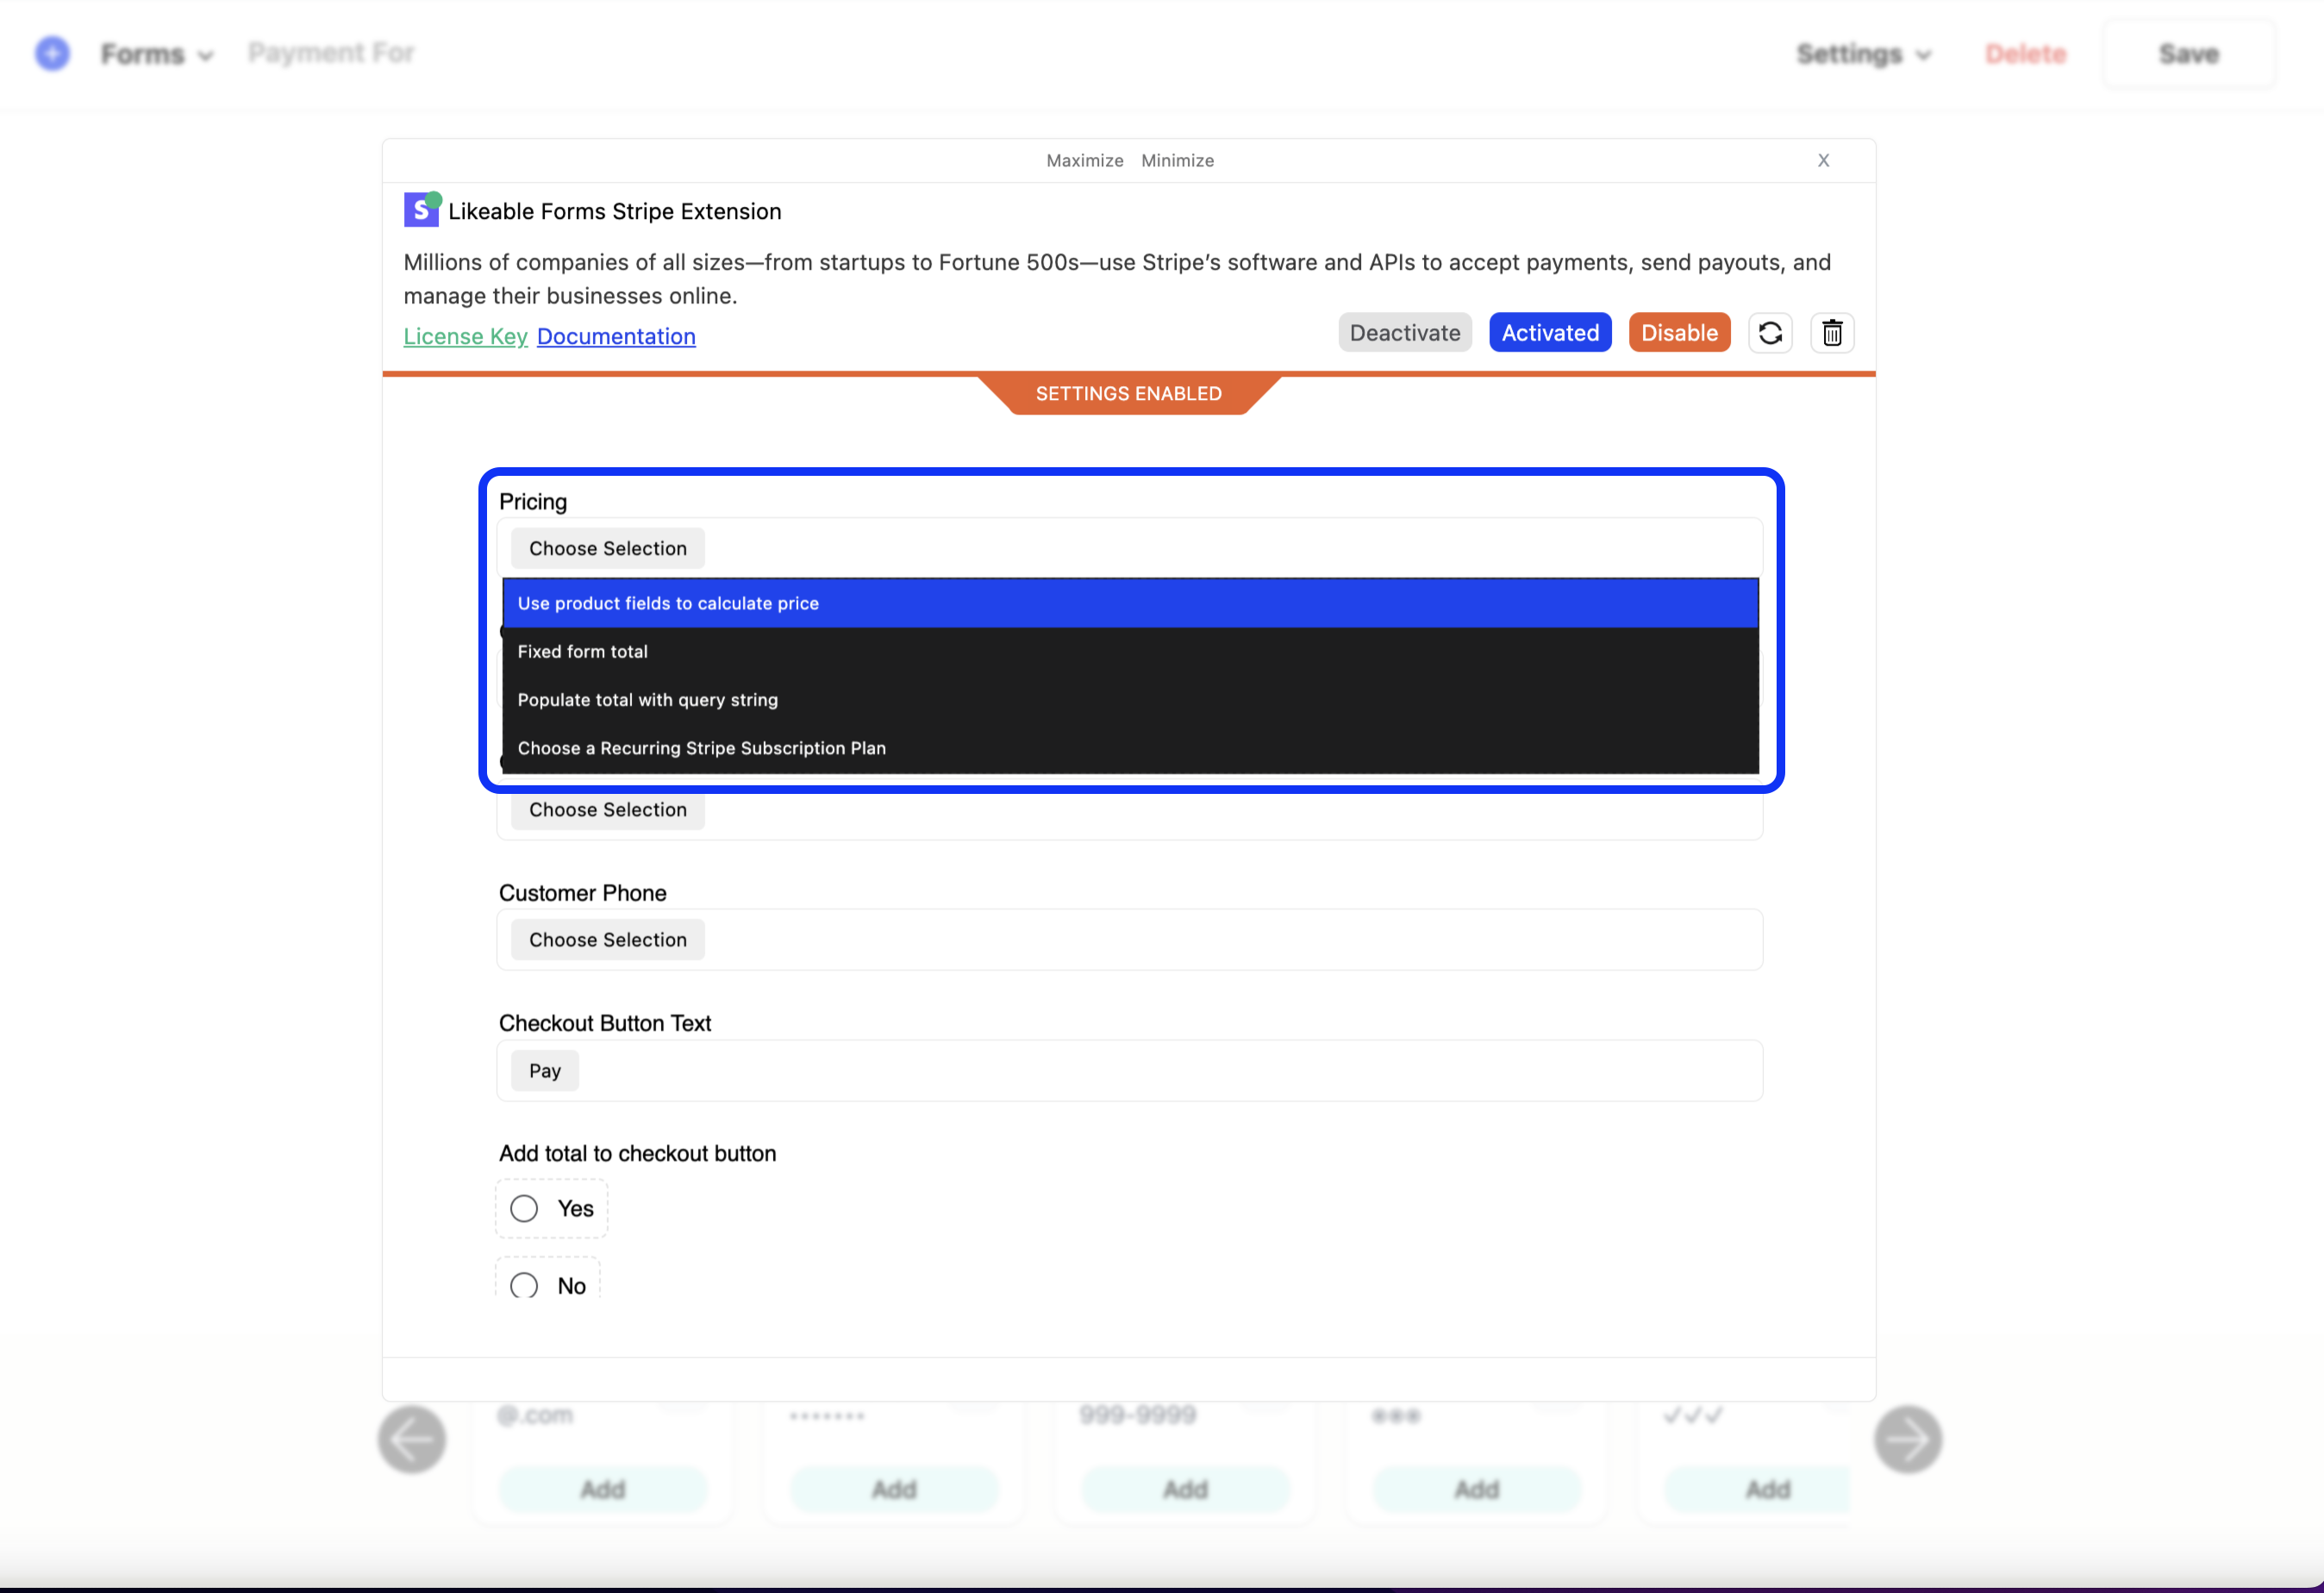
There are currently three available options for calculating our total, which are:
- 1. Fixed form total
- 2. Using product fields to calculate the price
- 3. Populate total with query string
- 2. Choose a recurring subscription plan
Below, we will be covering each option in detail, so feel free to skip directly to the option that applies to you.
Fixed Form Total
The fixed form total option is for when you have a predetermined price that will always stay constant and when the price will be the same for everyone. For example, if you are selling access to an online course and the course total is $95.00 across the board and doesn’t provide any other price options, then the fixed form total option should be selected. By selecting this option, a new input field will appear directly beneath the pricing drop down and you can go ahead and enter the amount.
Product fields
Product fields give us the ability to include images for our products, add pricing, and offer our customers the option to purchase one or more products. They are not required for payment forms that plan on setting a fixed price. For example, a form that requires a set price in order to submit the form. On the other hand, product fields allow us to offer variations of products and/or services while allowing the user to make the selections and update their running total.
Note: Product fields are custom field types that are included with Likeable Forms and do not require the use of an add-on.
A “product” field allows customers to make a single selection, whereas a “product(s)” field allows for multiple selections. If you are building a payment form to sell an individual item, a single “product” field works the same as a radio field and allows us to offer one or multiple products but only allowing the customer to make a single selection. A “product(s)” field works similar to how a checkbox field works and allows us to offer multiple products while allowing multiple selections to be made. E.g. selecting more than one product to purchase.
Now that we understand how product fields work, let’s add a single product field and also a multiple products field to our new form. You can use any media items you added to the WordPress media library simply by clicking the “+” icon located in the center of each product field. When clicking the “+” icon, it will automatically open the media library modal in the center of the screen. Once you locate the image for the product field, it’s as simple as selecting the photo to automatically add it to the form.
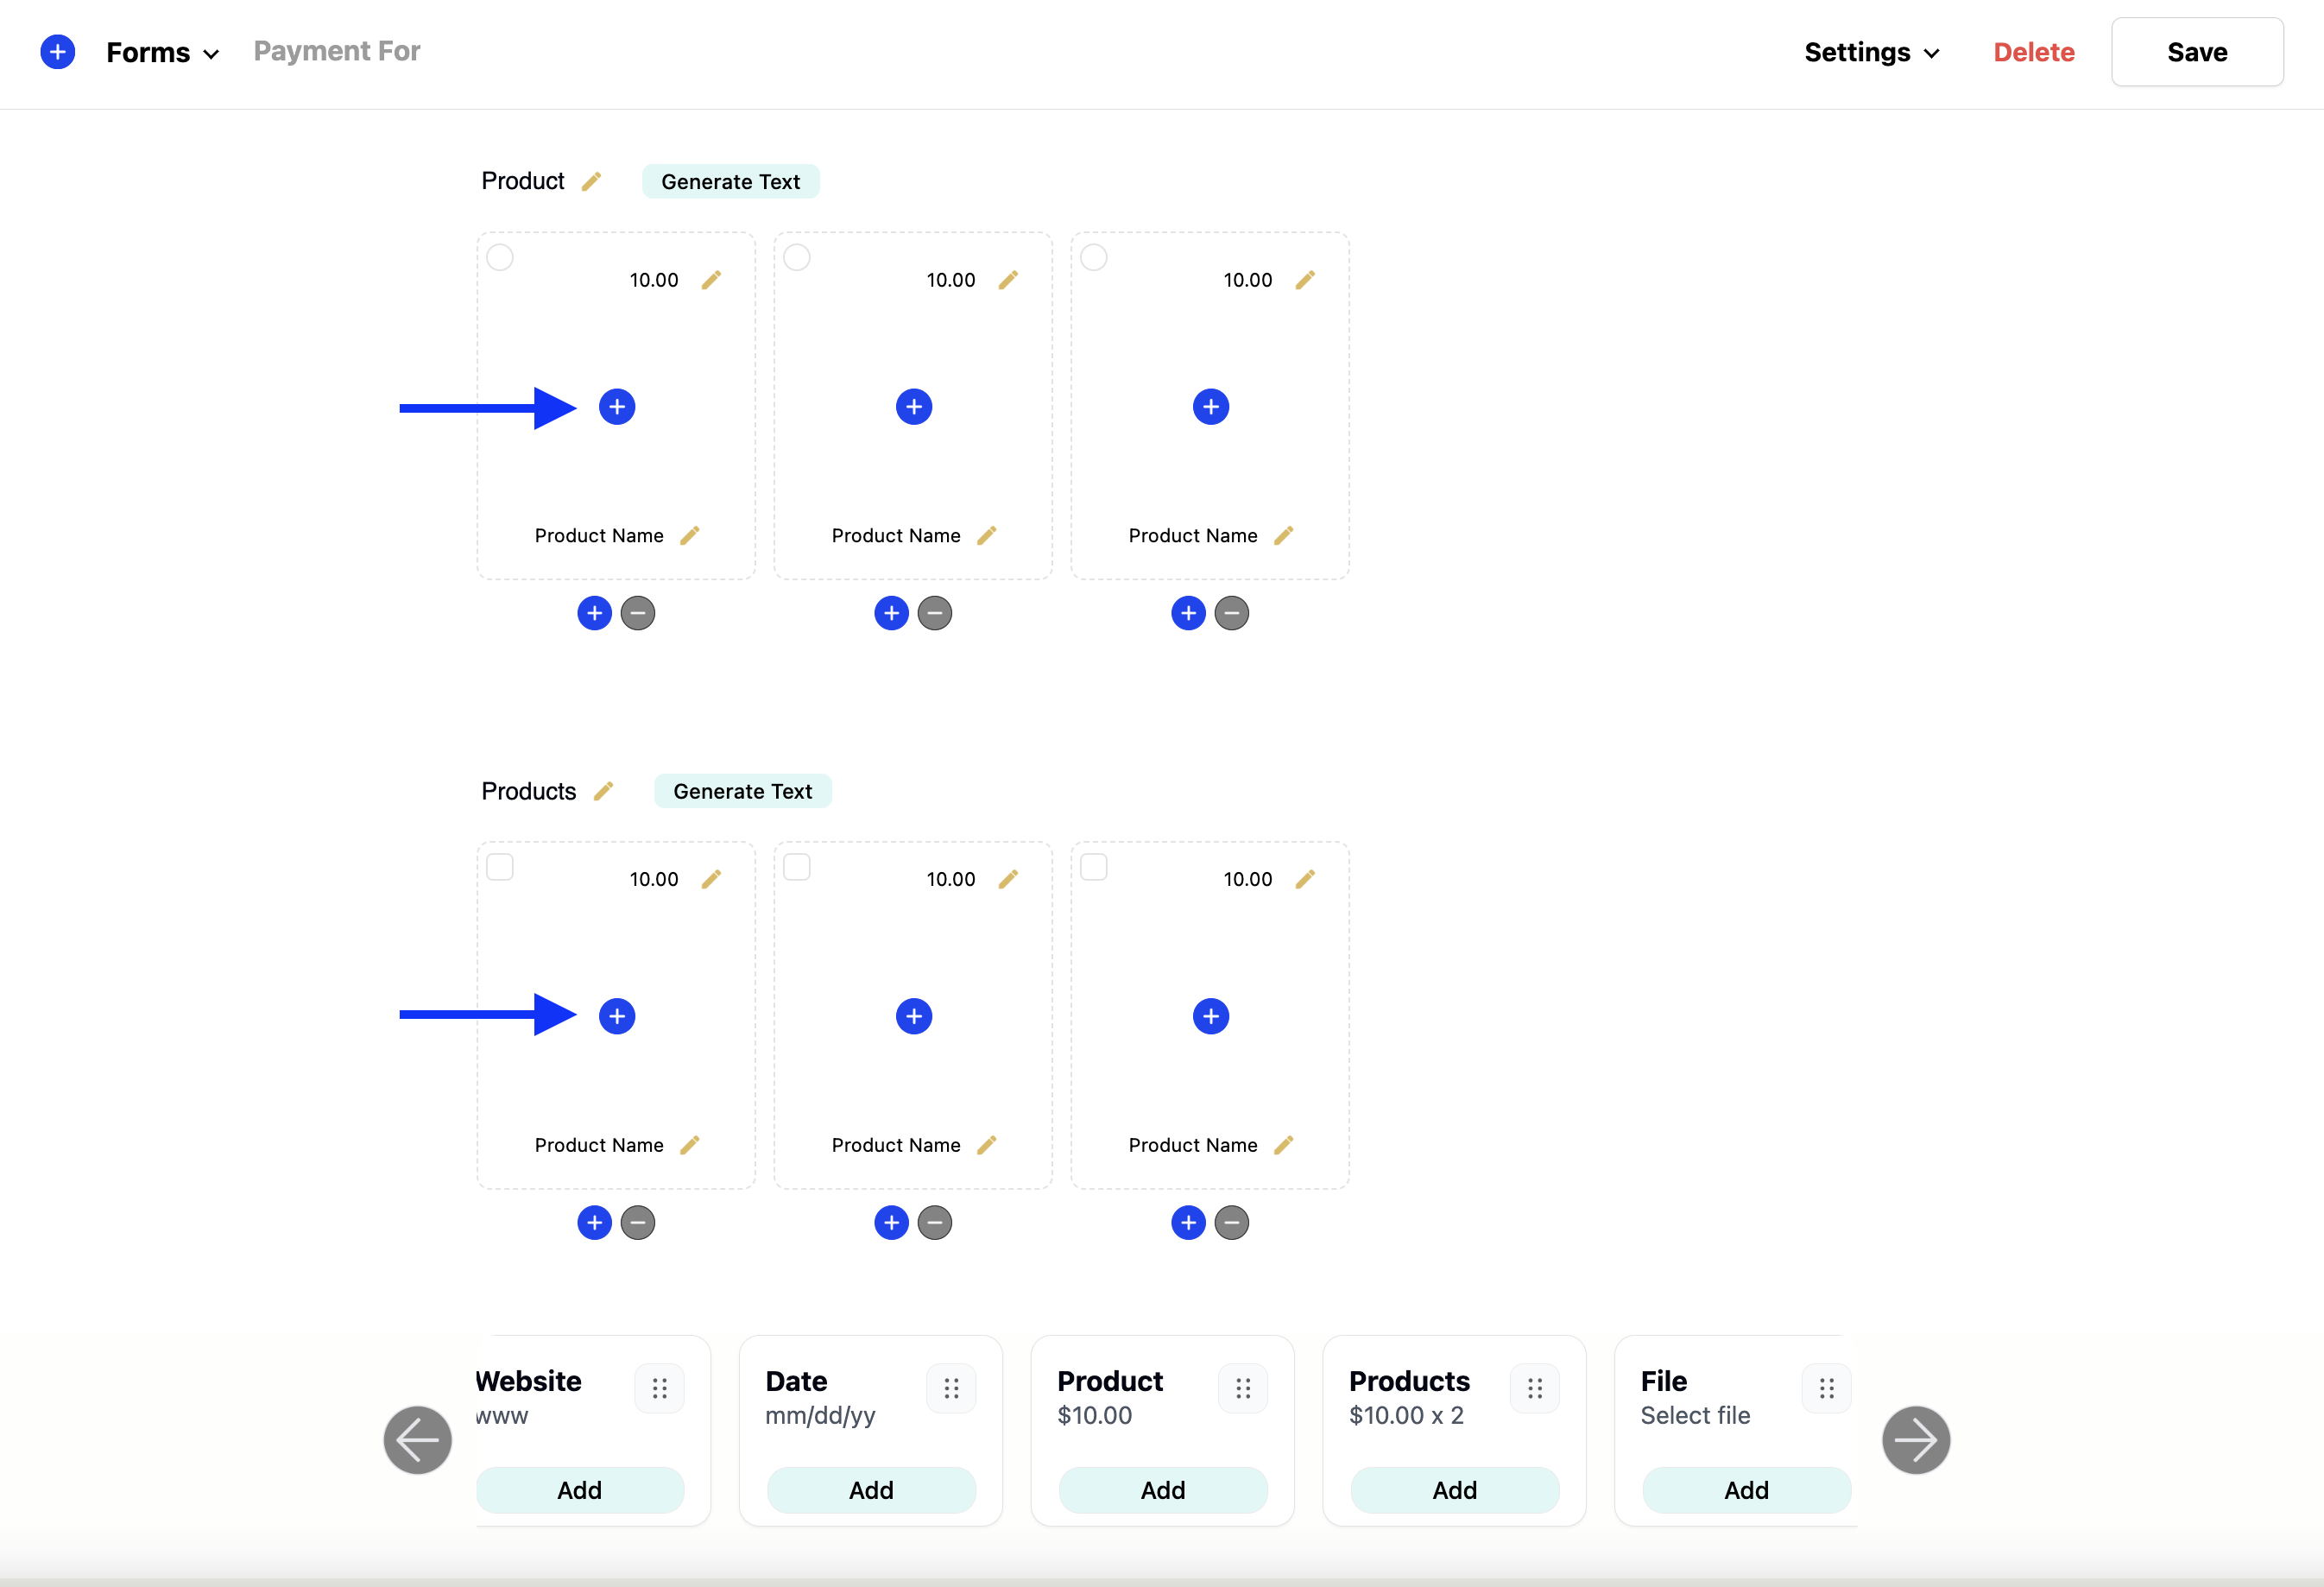
Each product field comes with an editable input for both the price and name of the product. To make edits to the default pricing and product name, use the built-in inline editing feature by clicking the text and entering the appropriate pricing and description for each product.
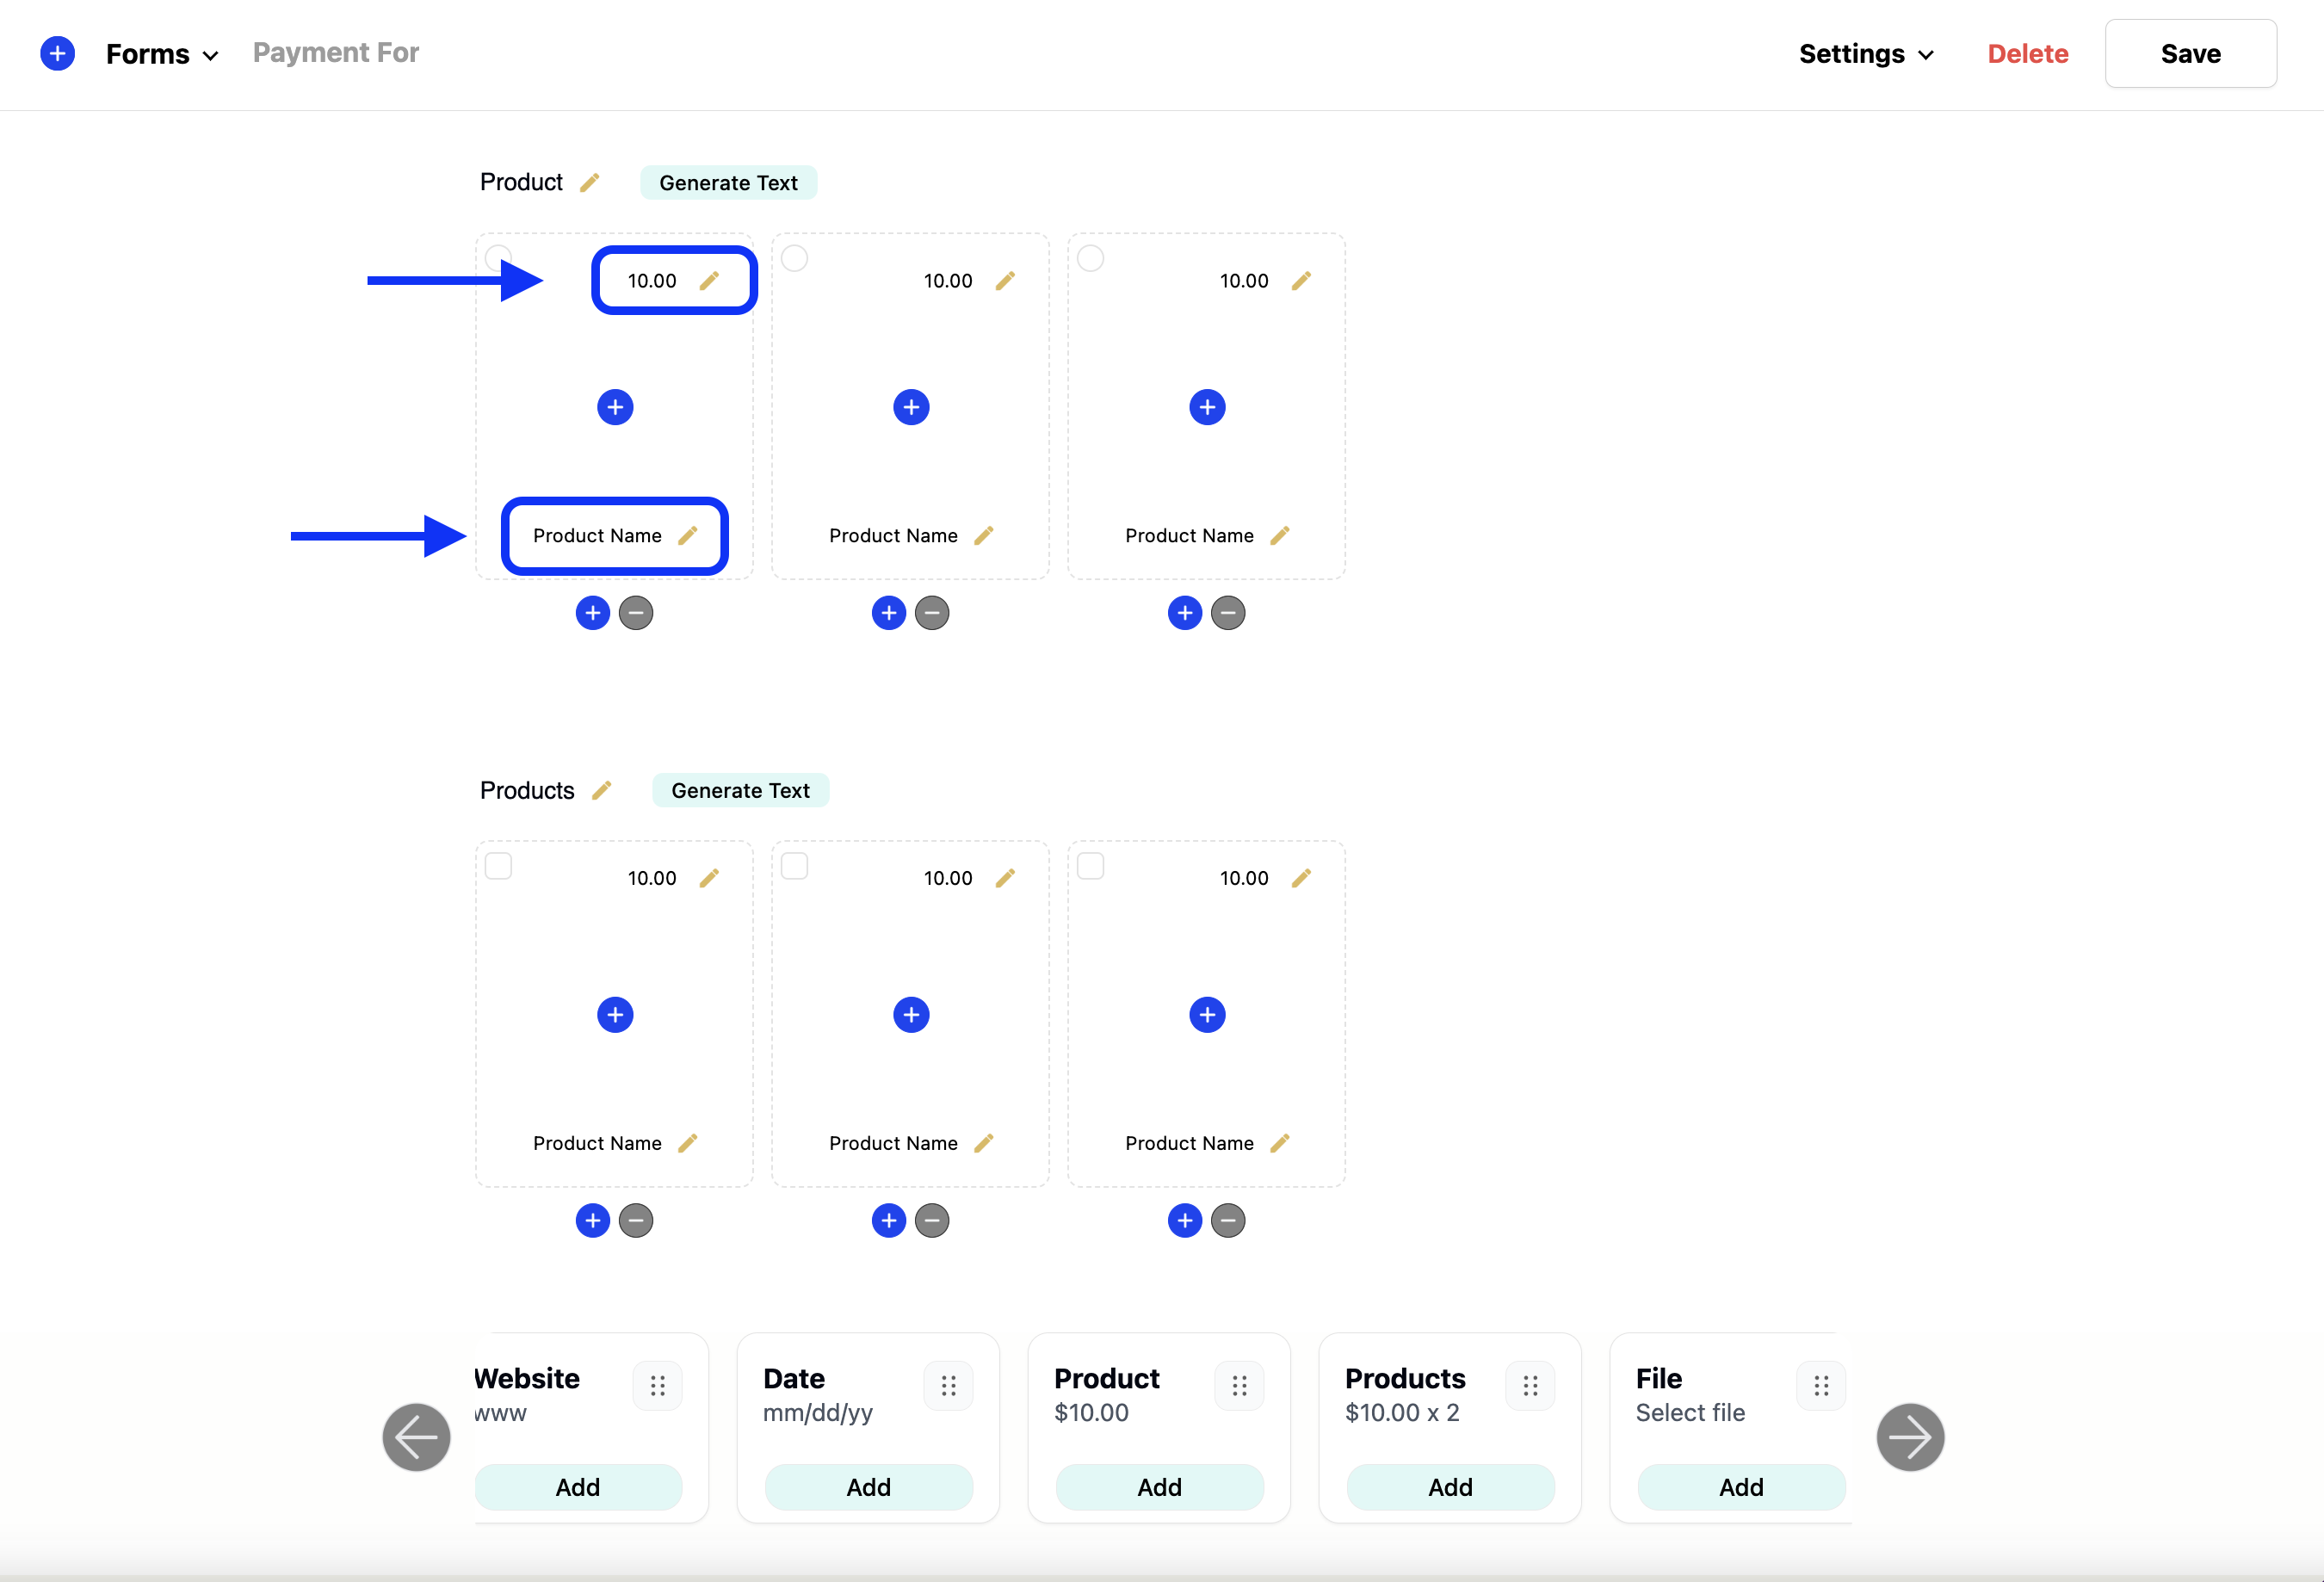
Lastly, after our products have been added to our form, we need to re-open our payment settings modal and select the “use product fields to calculate our total” option. Once this option has been selected, a new drop-down will appear, and it will populate all the product fields we just added to our form.
Query string
Please note: the query string option is a developer friendly option but can be more complex to implement compared to the others. If you have issues or additional questions about using query strings to populate the forms total, feel free to open a ticket or post a question on the community forum.
Using the query string option requires two steps. The first step is adding the query string "parameter" or "word". For example: you can type in the word "price" or "charge" minus the "" quotation marks into the query string field.
- 1. price
- 2. charge
The query string word is used when the form first loads to extract the price attached to the word. The next step is adding a link to your payment form with the query string and the price combined with the correct syntax. If you have a link/button on your website that links to your payment form, the link/button should include a ?, the query string "parameter" or "word" you've added into the query string field, and the price.
- 1. https://yourwebsite.com/payment-form?price=10
- 2. yourwebsite.com/the-page-your-form-is-on?price=10
If set up correctly, when a customer clicks the link and visits your payment form, the forms total will now be updated to 10.00 automatically when the page is loaded.
Subscription plan
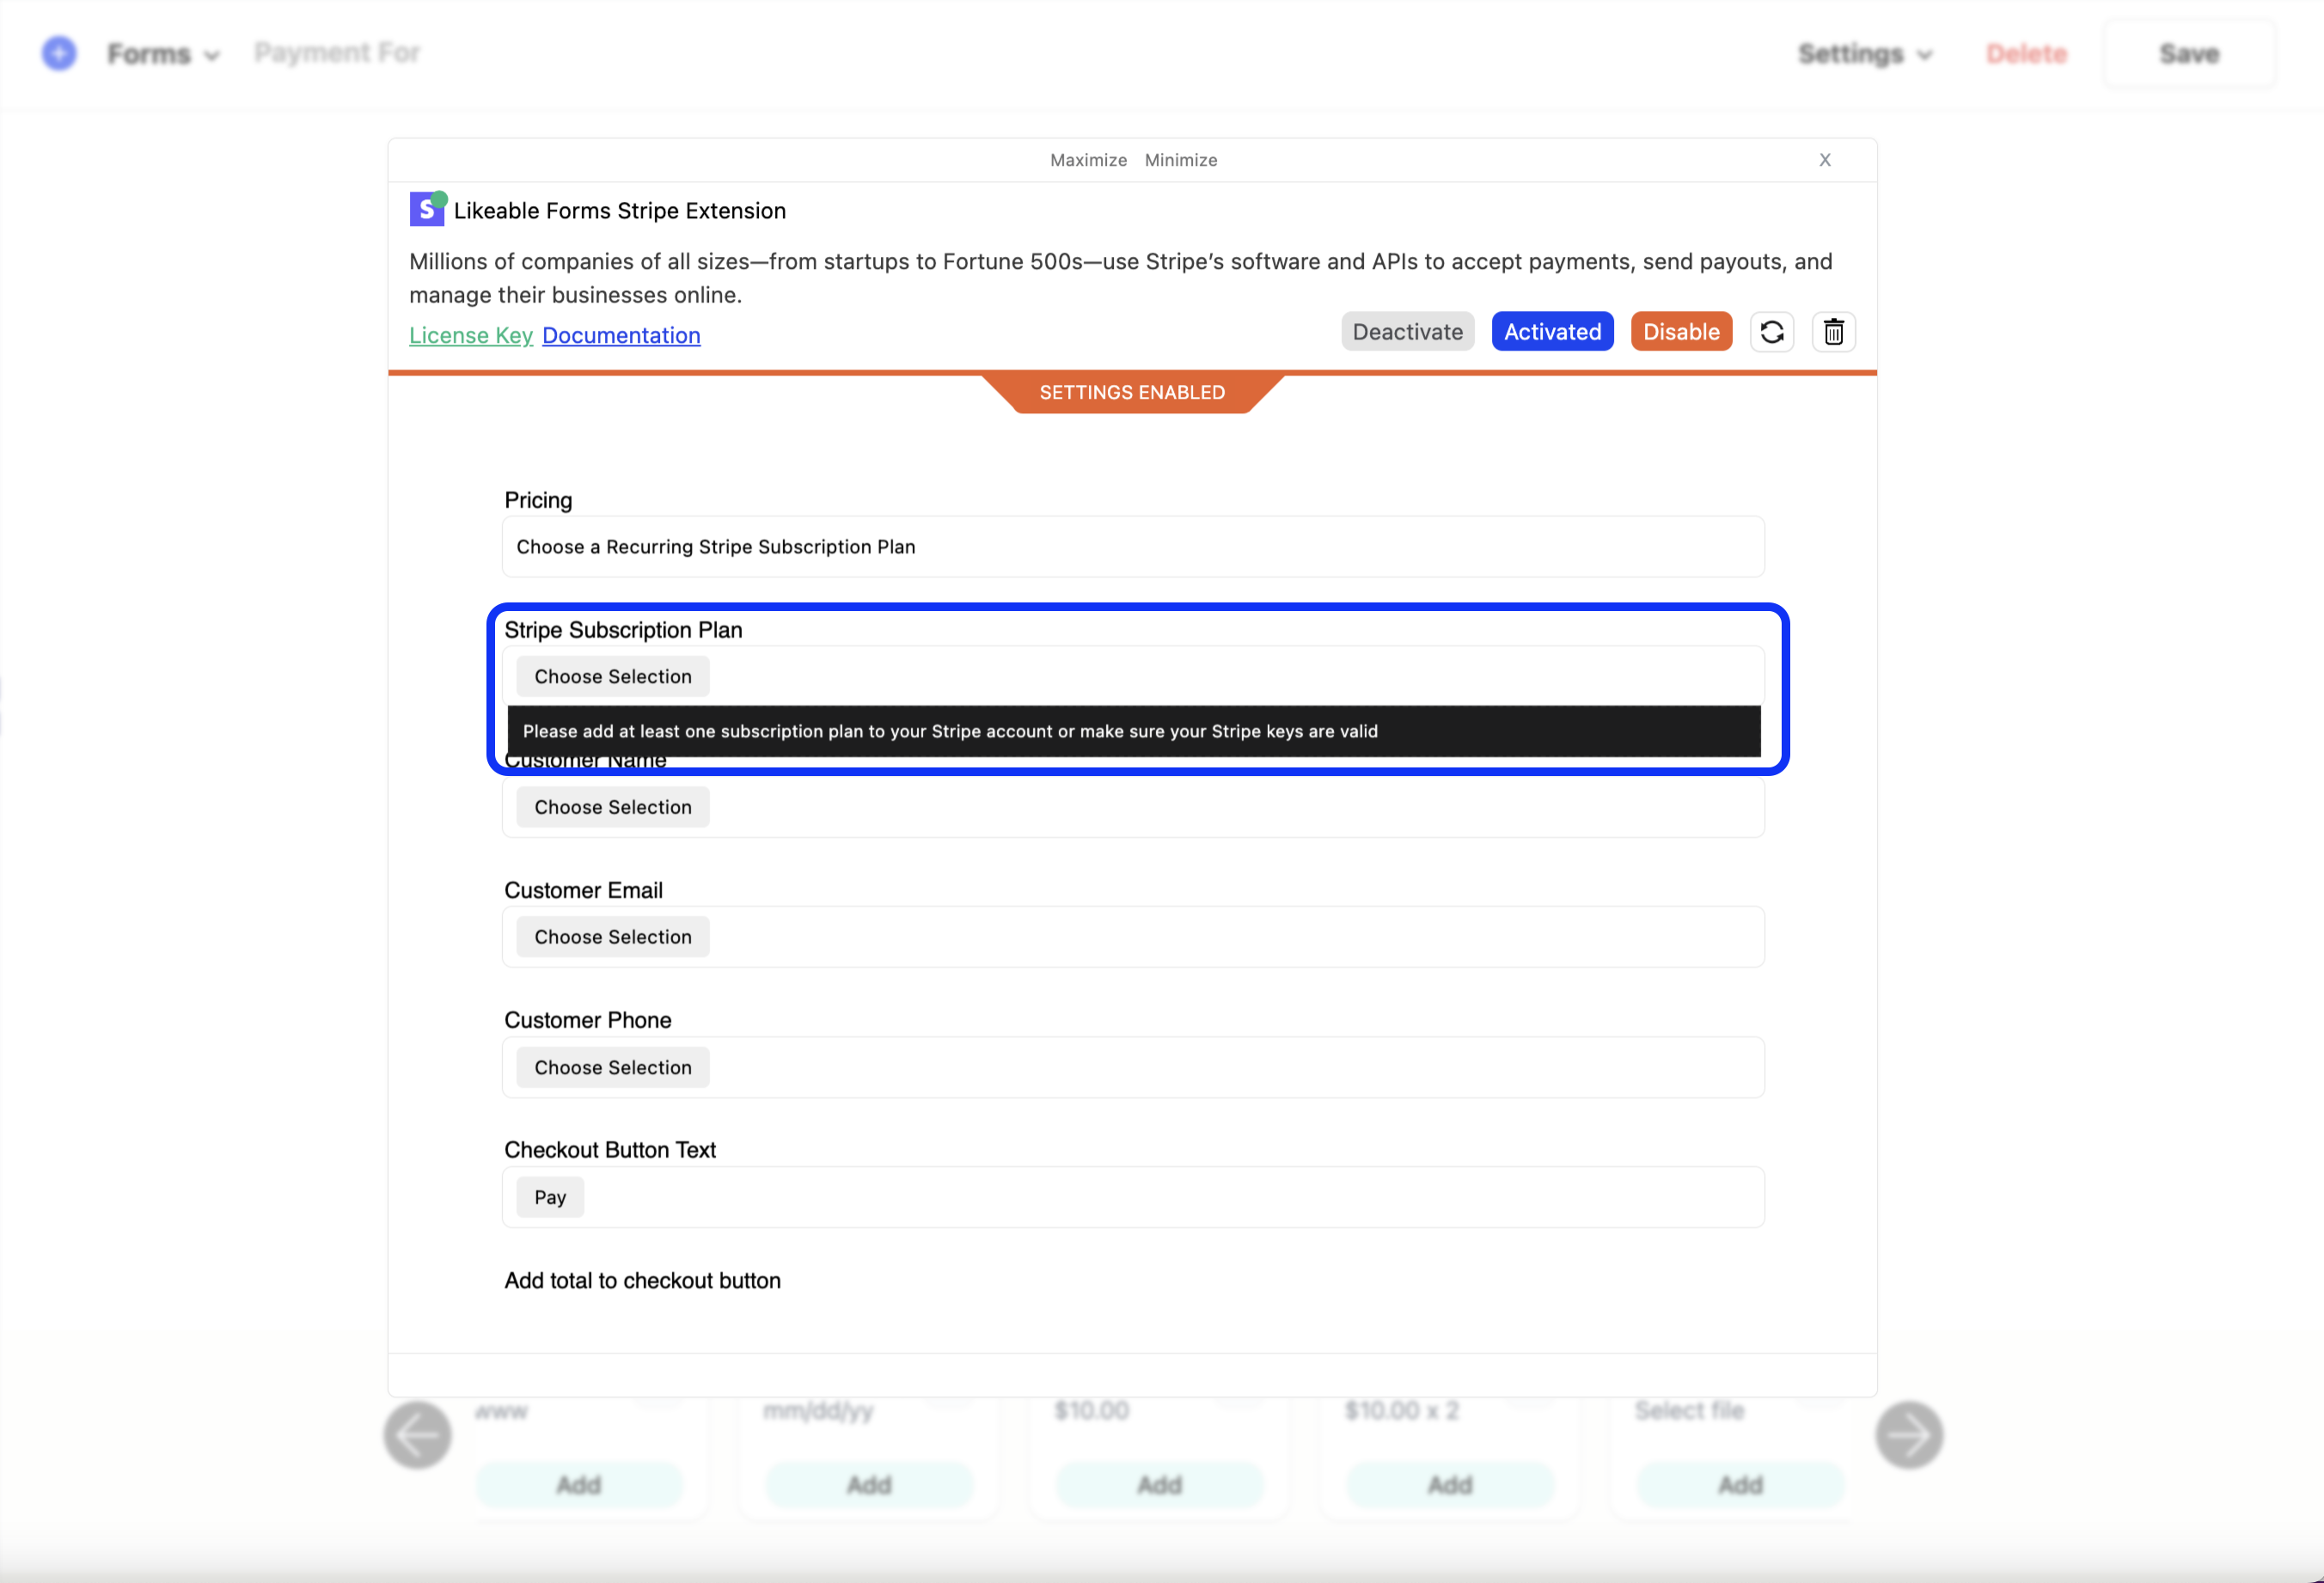
If you need to collect recurring subscriptions from your customers on an ongoing basis, then choose a recurring subscription plan option. After selecting this option, a new subscription plan dropdown will appear.
When selecting this option a full list of available subscription plans will be populated. Note: subscriptions plans will need to be set up inside your payment processing account first in order to appear in the drop-down. When selecting a subscription plan option, the price will automatically be added to the forms total when the form is loaded or at run time and does not require you to enter any pricing information.
Mapping the customer input fields
Mapping our customers' contact information by assigning the input fields in our payment form to the corresponding field in our payments settings. Field mapping allows us to build our customers' contact and/or partial billing information with the values entered into our form. When the form is submitted, the name field, email address field, and phone field used to collect the contact information of our customer can be automatically assigned and shared with the payment gateways API to process the payment.
Wrapping it up
Likeable Forms includes a product theme add-on that allows you to use a pre-designed, pre-built and fully customizable form landing page designed specifically to resemble an ecommerce shopping page. For more information, visit the template library and demo the product template today.
