Thursday, Nov 12, 2024
Building a WordPress contact form
Forms
How to
Contact Form
Contact Form Plugin

In today’s article, we are going to be building a contact form with the Likeable Forms WordPress form builder, creating a new standalone web page, and lastly adding/embedding the contact form with a shortcode.
Contact forms convert static websites into dynamic websites and without one you could potentially be missing out on valuable leads, newsletter subscribers, and offering visitors a straightforward path of communication with your company. While we all love picking a new website theme or template for our online business, a contact form is a basic requirement for most websites and can play a vital role in supporting new and existing customers.
- 1. Opening the form builder
- 2. Building our WordPress contact form
- 3. Creating a new WordPress page
- 4. Embedding the shortcode
Opening the form builder
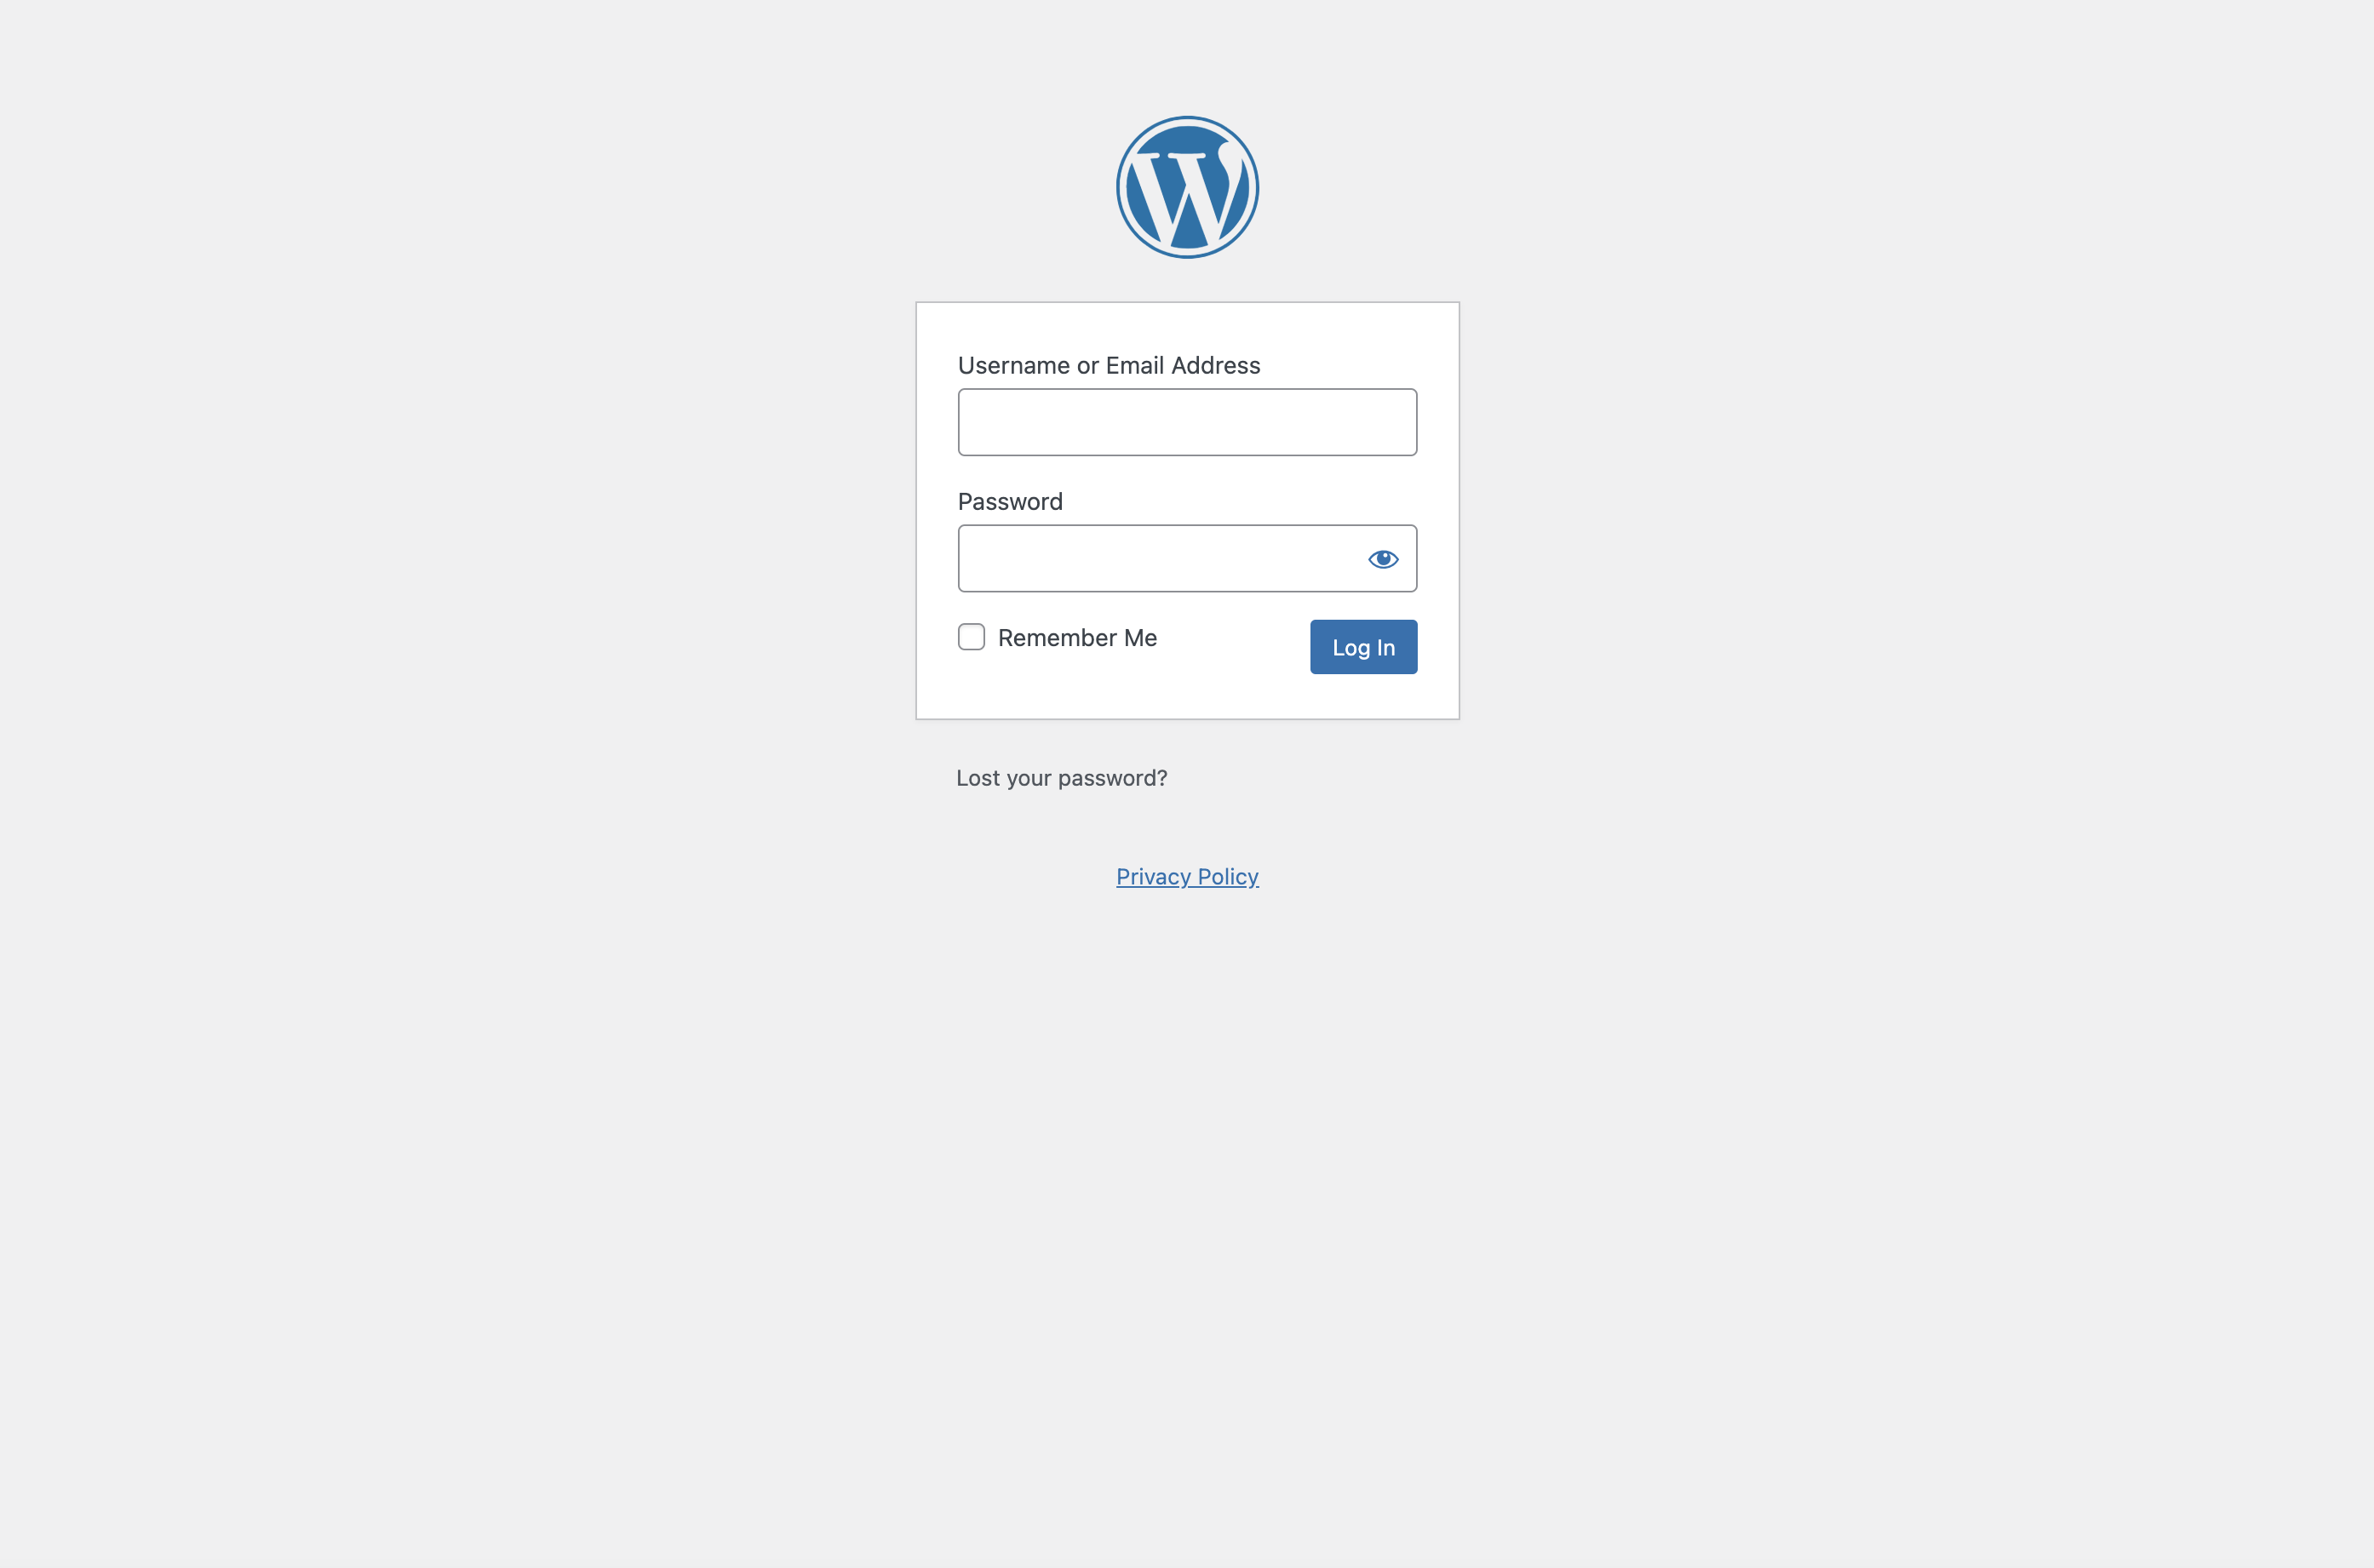
To get started, login to your website. If your website does not have a login link, you will need to type in your domain and append /wp-login.php to the end of the URL. https://yourdomain.com/wp-login.php. This is the standard WordPress administrative login URL that comes included with all WordPress websites. After typing in your administrative username or email, followed by your password, you will be redirected to the WordPress admin home page.
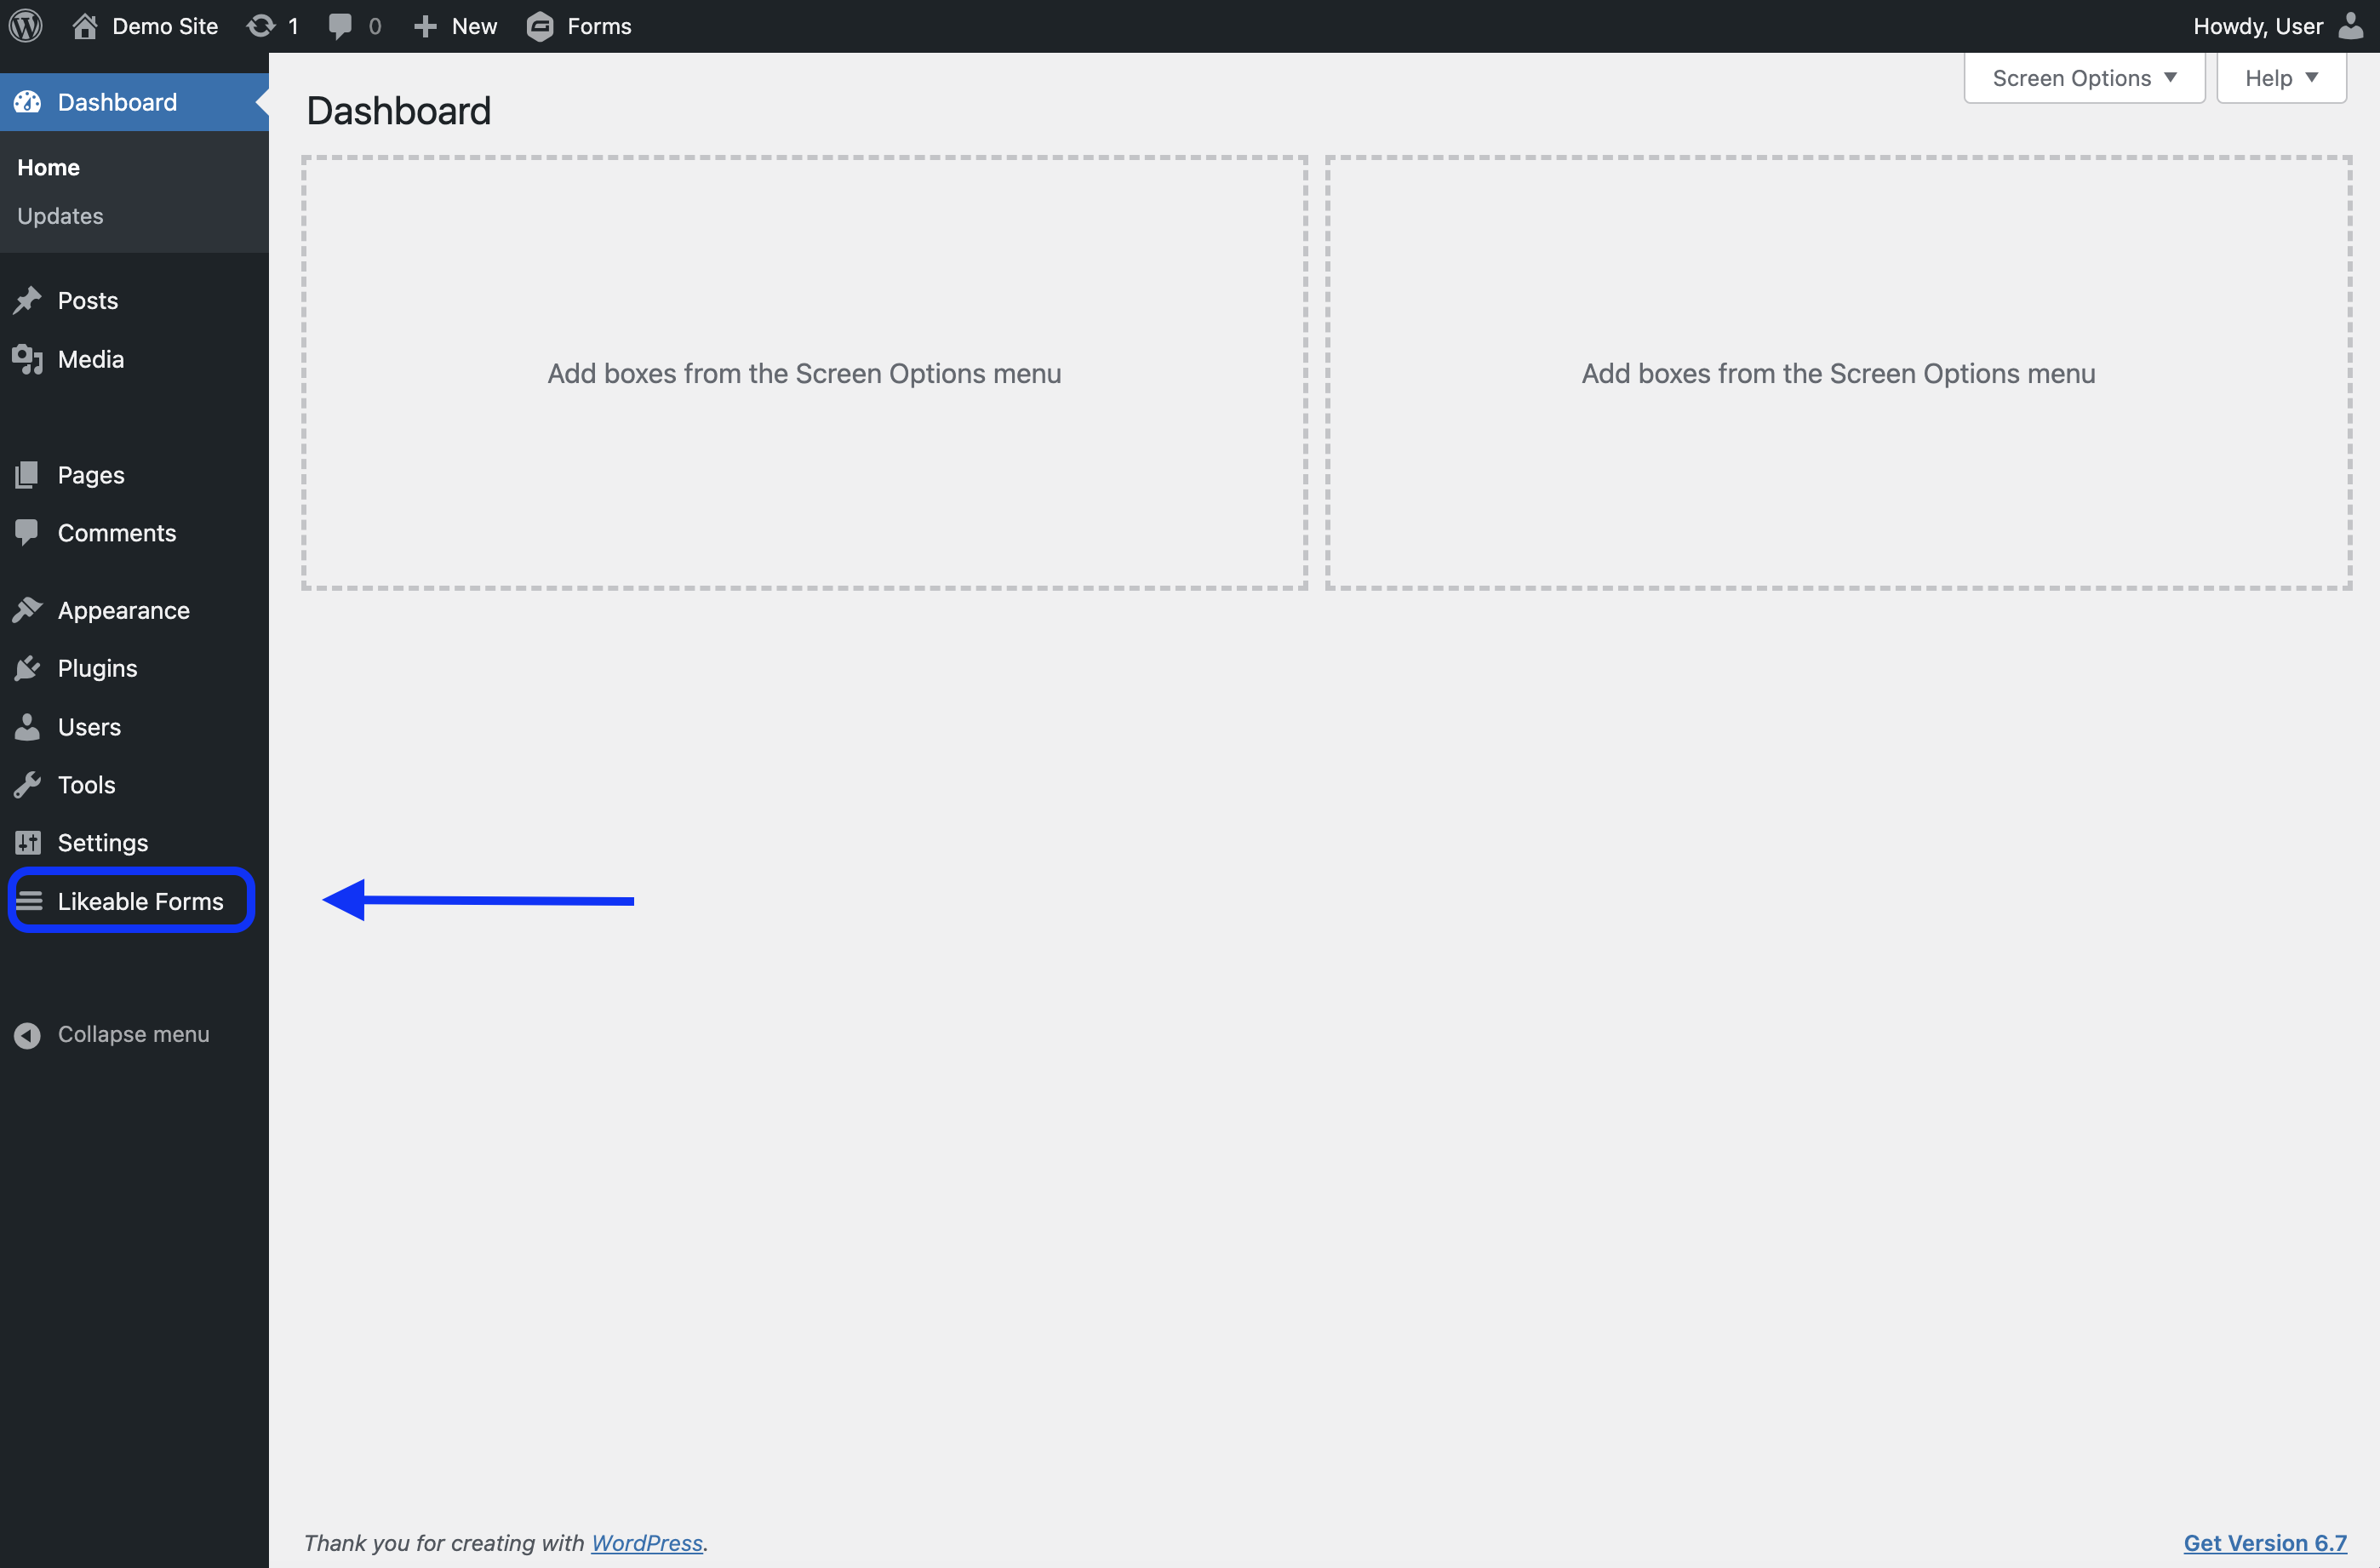
Once logged in, you can view all of your installed plugins on the left-hand sidebar. To access the Likeable Forms form builder, locate and select the Likeable Forms menu item.
Building our Contact Form
A simple contact form typically consists of at least three input fields, at minimum. A name field, an email address field, and a textarea to collect a message. With these three fields we can reference a first name, respond by email, and send a solution or response to an inquiry. Using the correct field types for each input is important for creating semantically valid web forms. For this contact form, we will need to add one email field, a text field, and a textarea field.
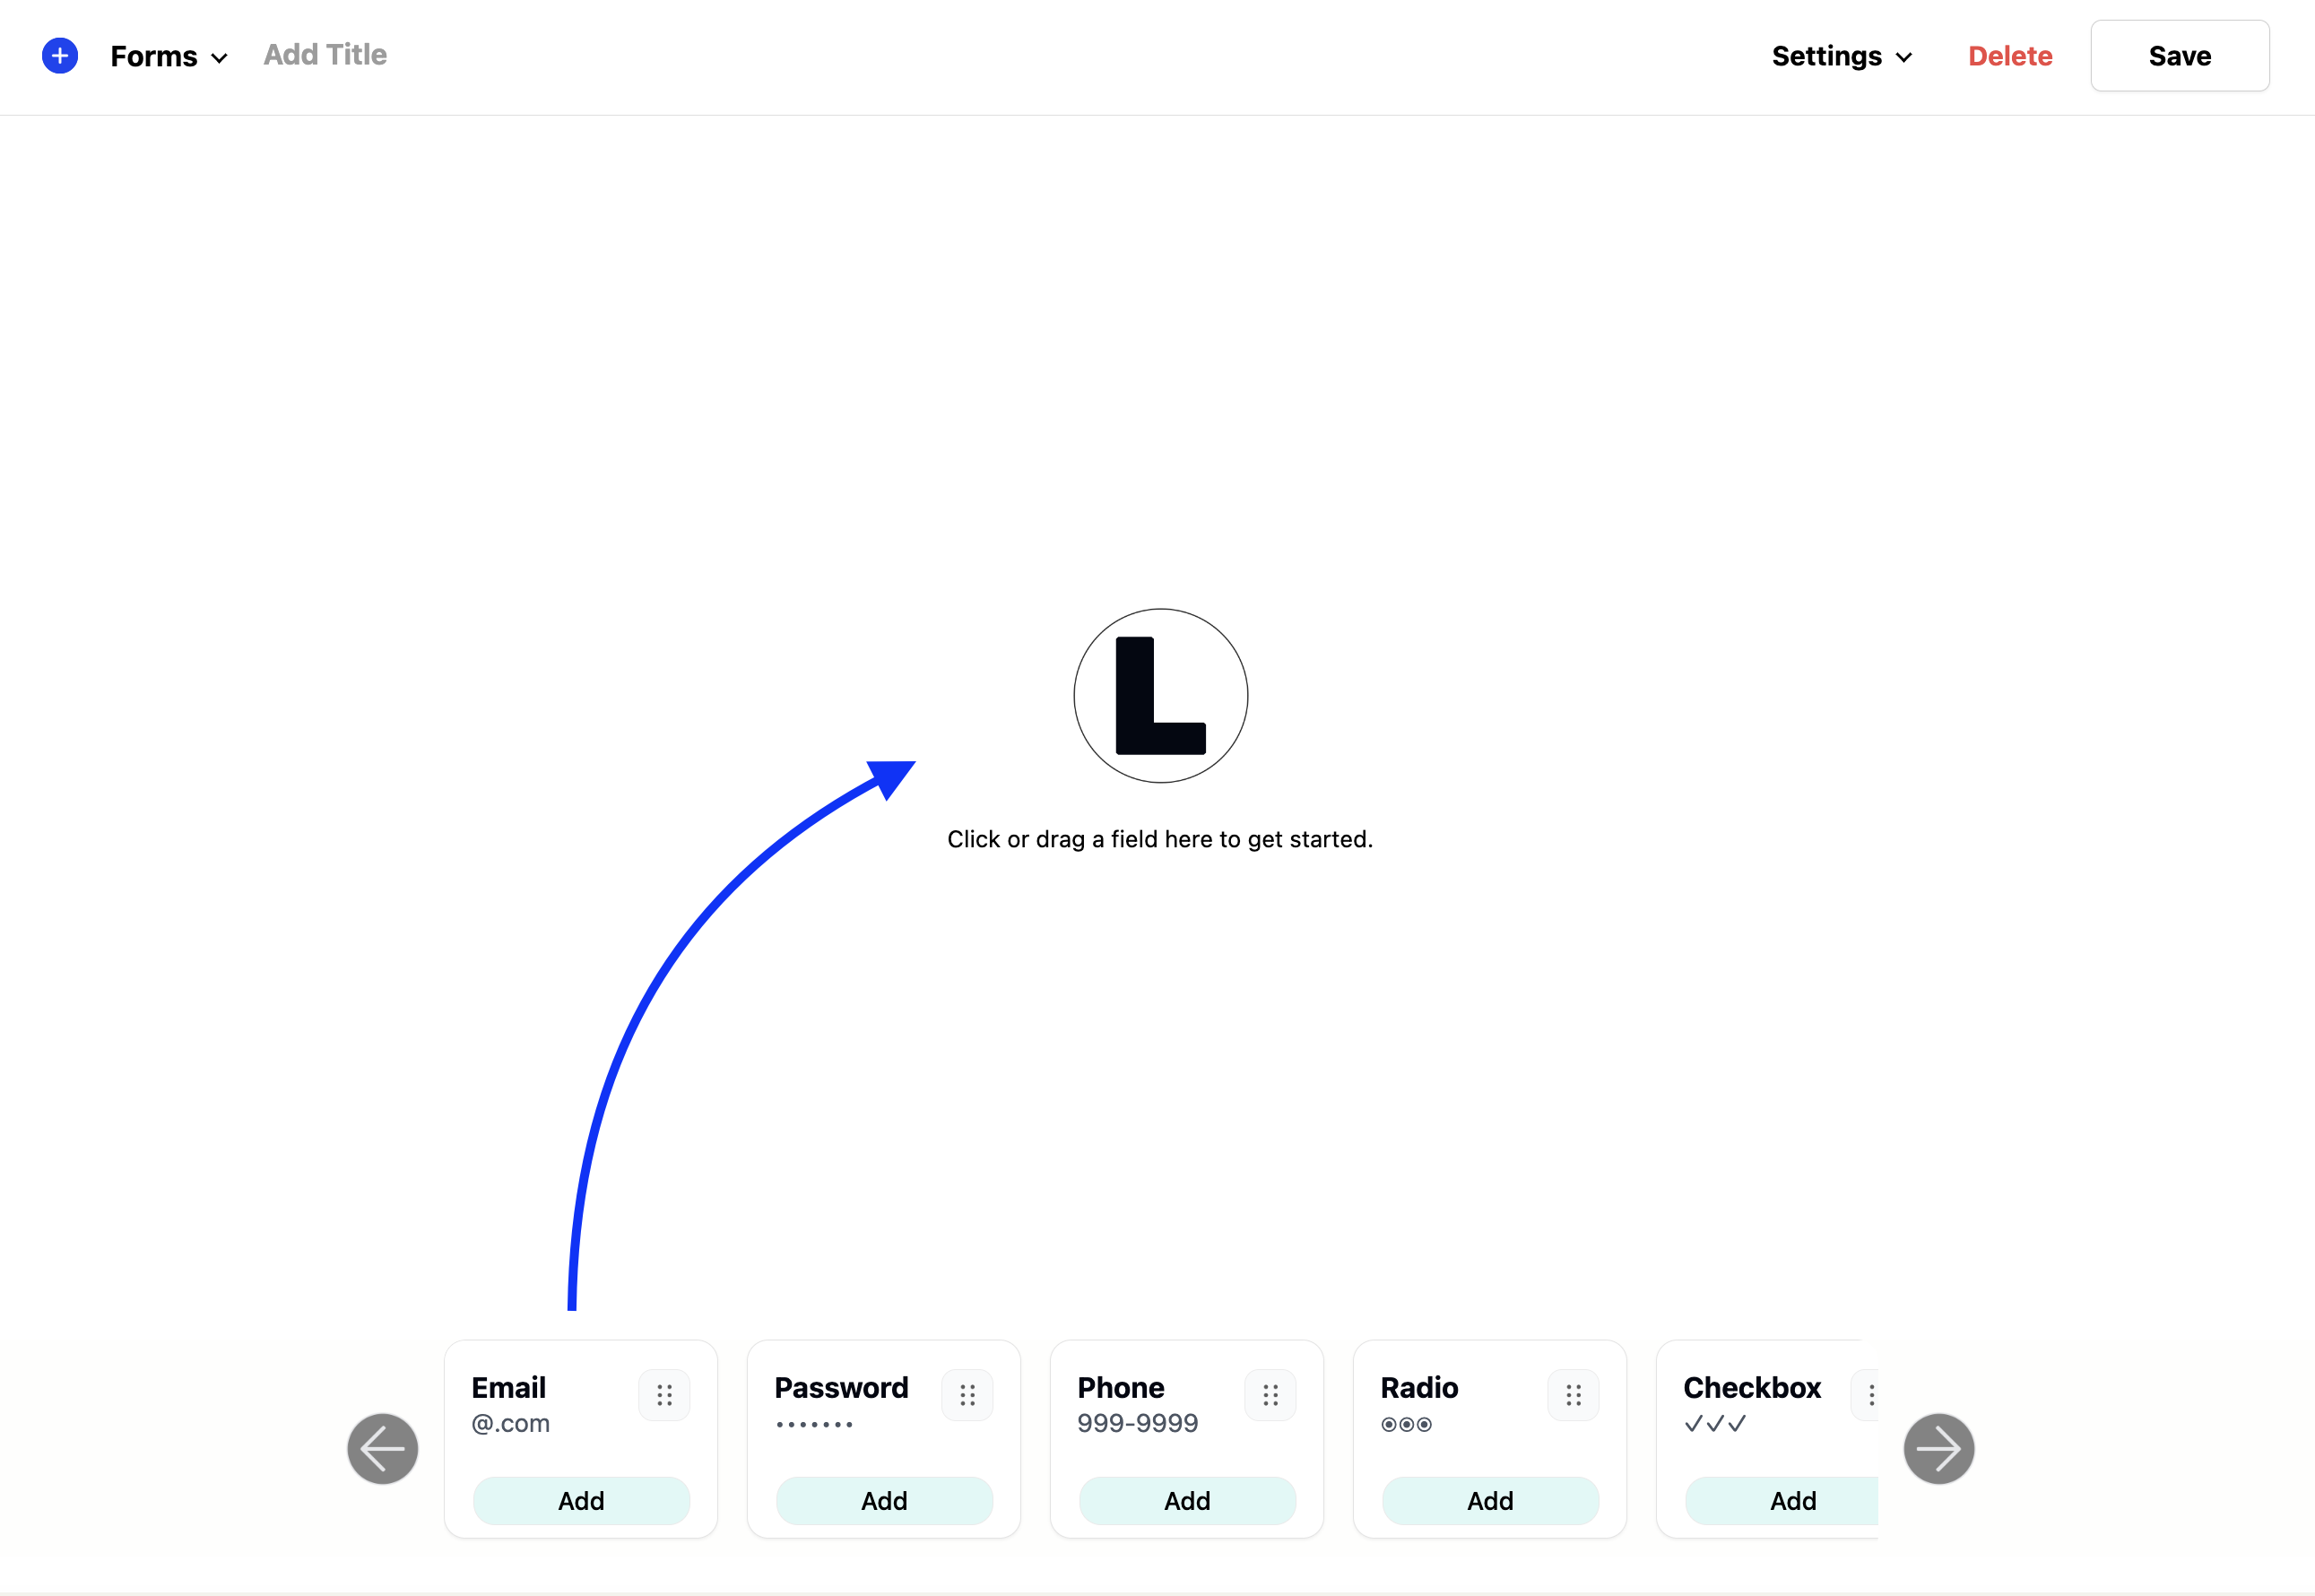
In order to start building a contact form, we need to click or drag the email field into the forms drop zone. When building a new form, the drop zone is anywhere below the menu and above the field's container.
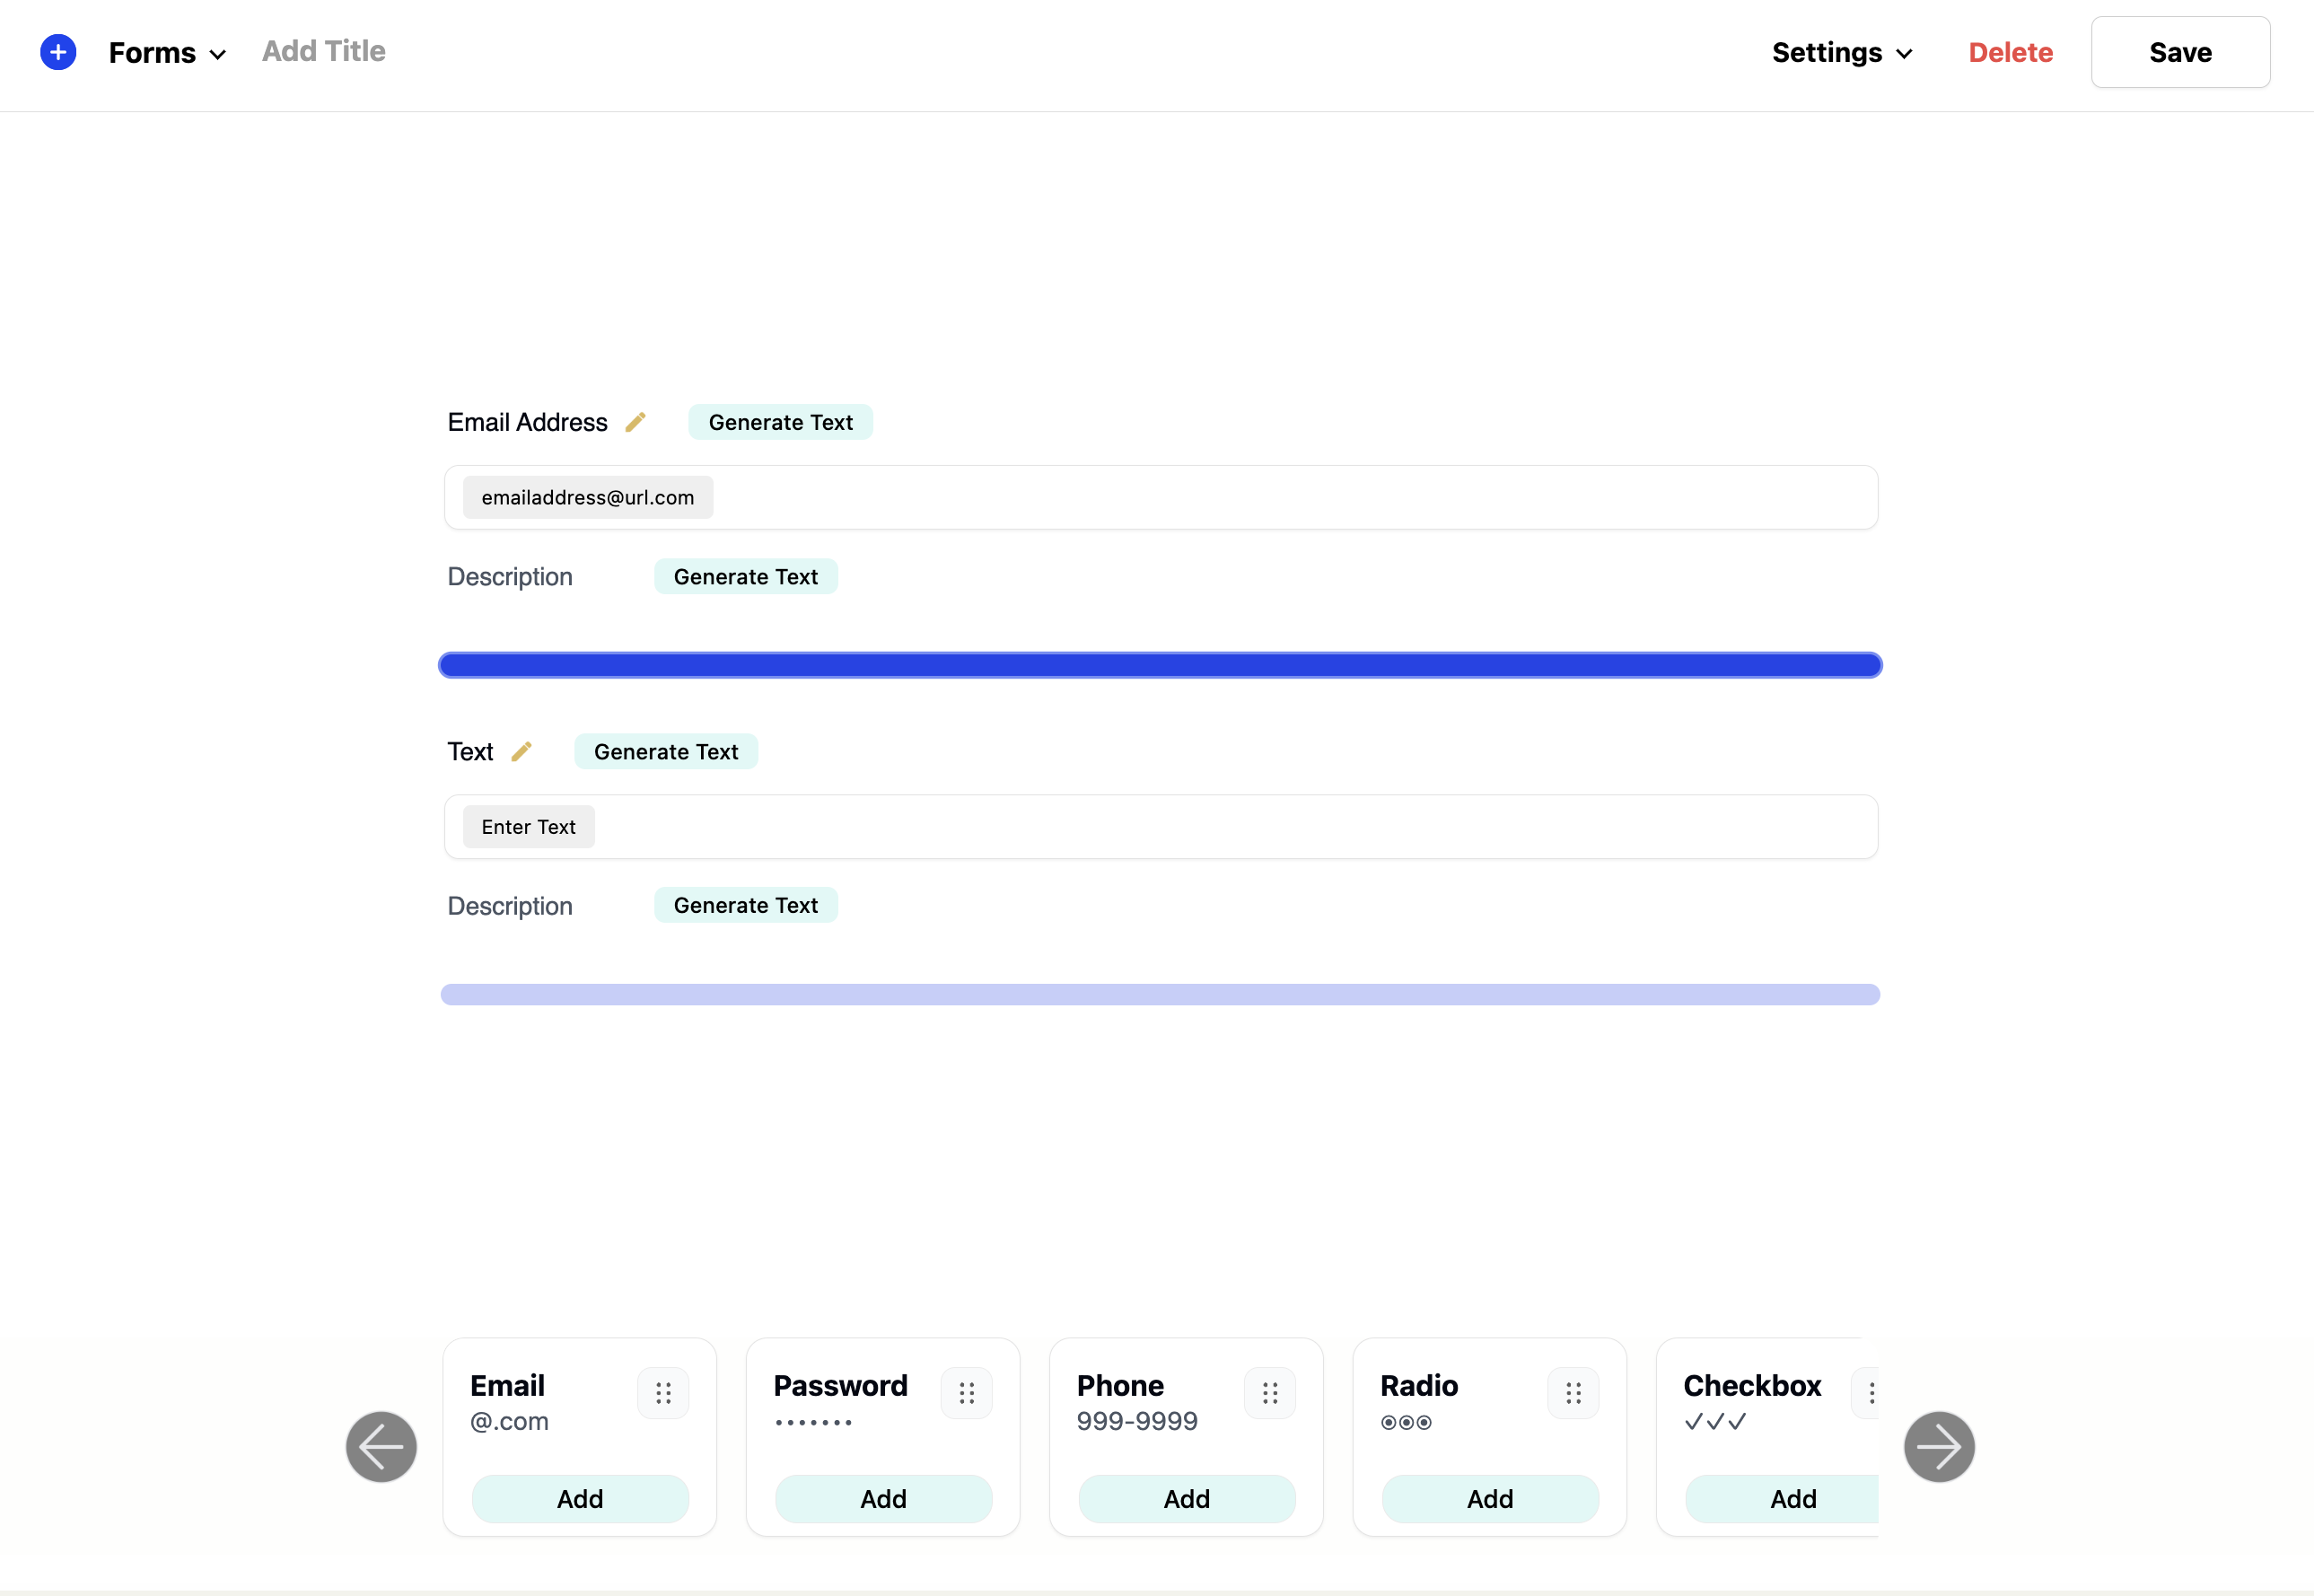
Now that our first field has been added, we can go ahead and click or drag the rest of the fields into the form. For our name field, we will use a text field, and a textarea field to collect the message. After the initial field has been dropped into the form builder, all subsequent drop zones will now become highlighted as we perform a drag. Dragging and dropping allows us to add fields before or after fields that already exist in the form, while clicking fields will add new fields that are automatically appending to the bottom of the form.
Adding labels and descriptions
Adding field labels and field descriptions allow us to communicate the purpose and what data and/or format we expect to be entered by the user when submitting the form. While the tone is a preference, it’s recommended to be clear and concise when writing labels and descriptions so that it makes the form easy to understand.
Field labels are the text that appears directly over the input field, while the field description is located underneath the input field. In general, field labels are either one word or a friendly but short sentence. For example, for our name field, it can either be “Name” or “What is your name?”. A good field description would be to explain if the name entered should be the first name or a full name.
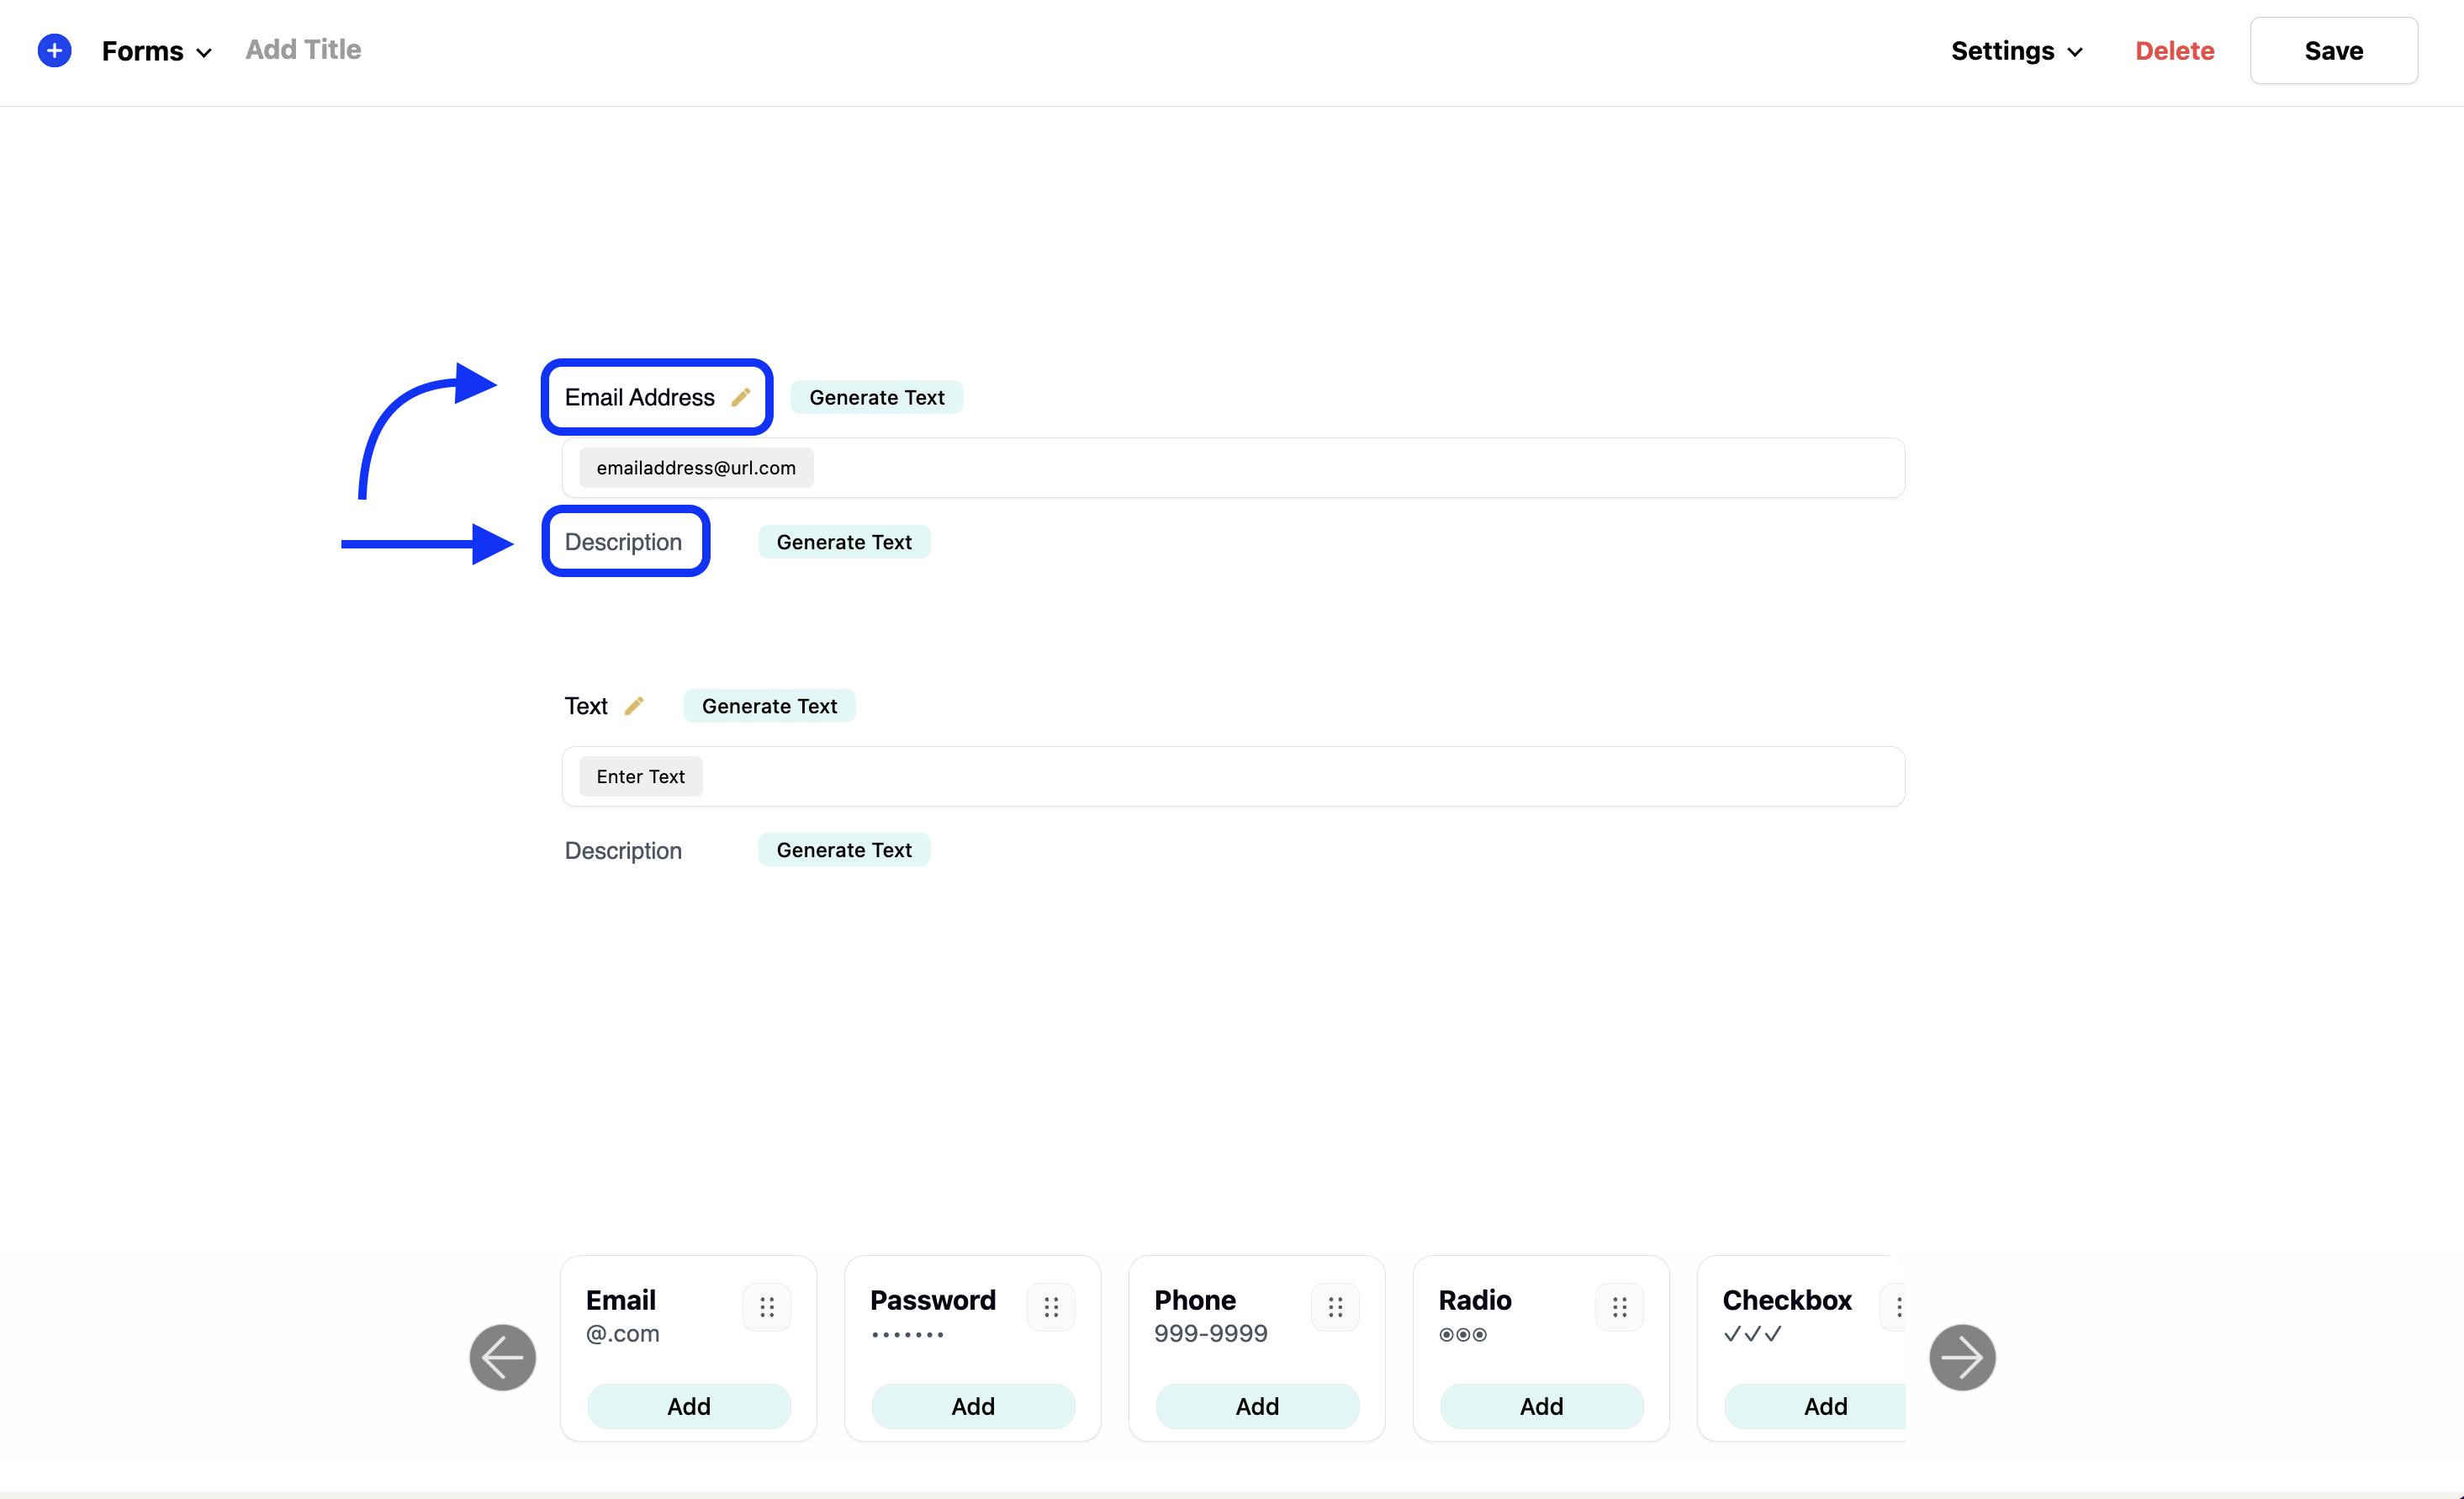
For example, “Please enter your full name.” For this form, our field labels and description are as followed:
- 1. Name
- 2. Email
- 3. Message
- 1. Please enter your full name.
- 2. Please enter a valid email.
- 3. How can we help?
Before saving our form, we need to add a form title to our form. Please note: Form titles are displayed above the form and will be visible to the user submitting the form. To add a title, simply click the “Add Title” input located on the right of the form's title dropdown and then enter your title. For this example, our form title will be Contact Us, but feel free to enter your own.
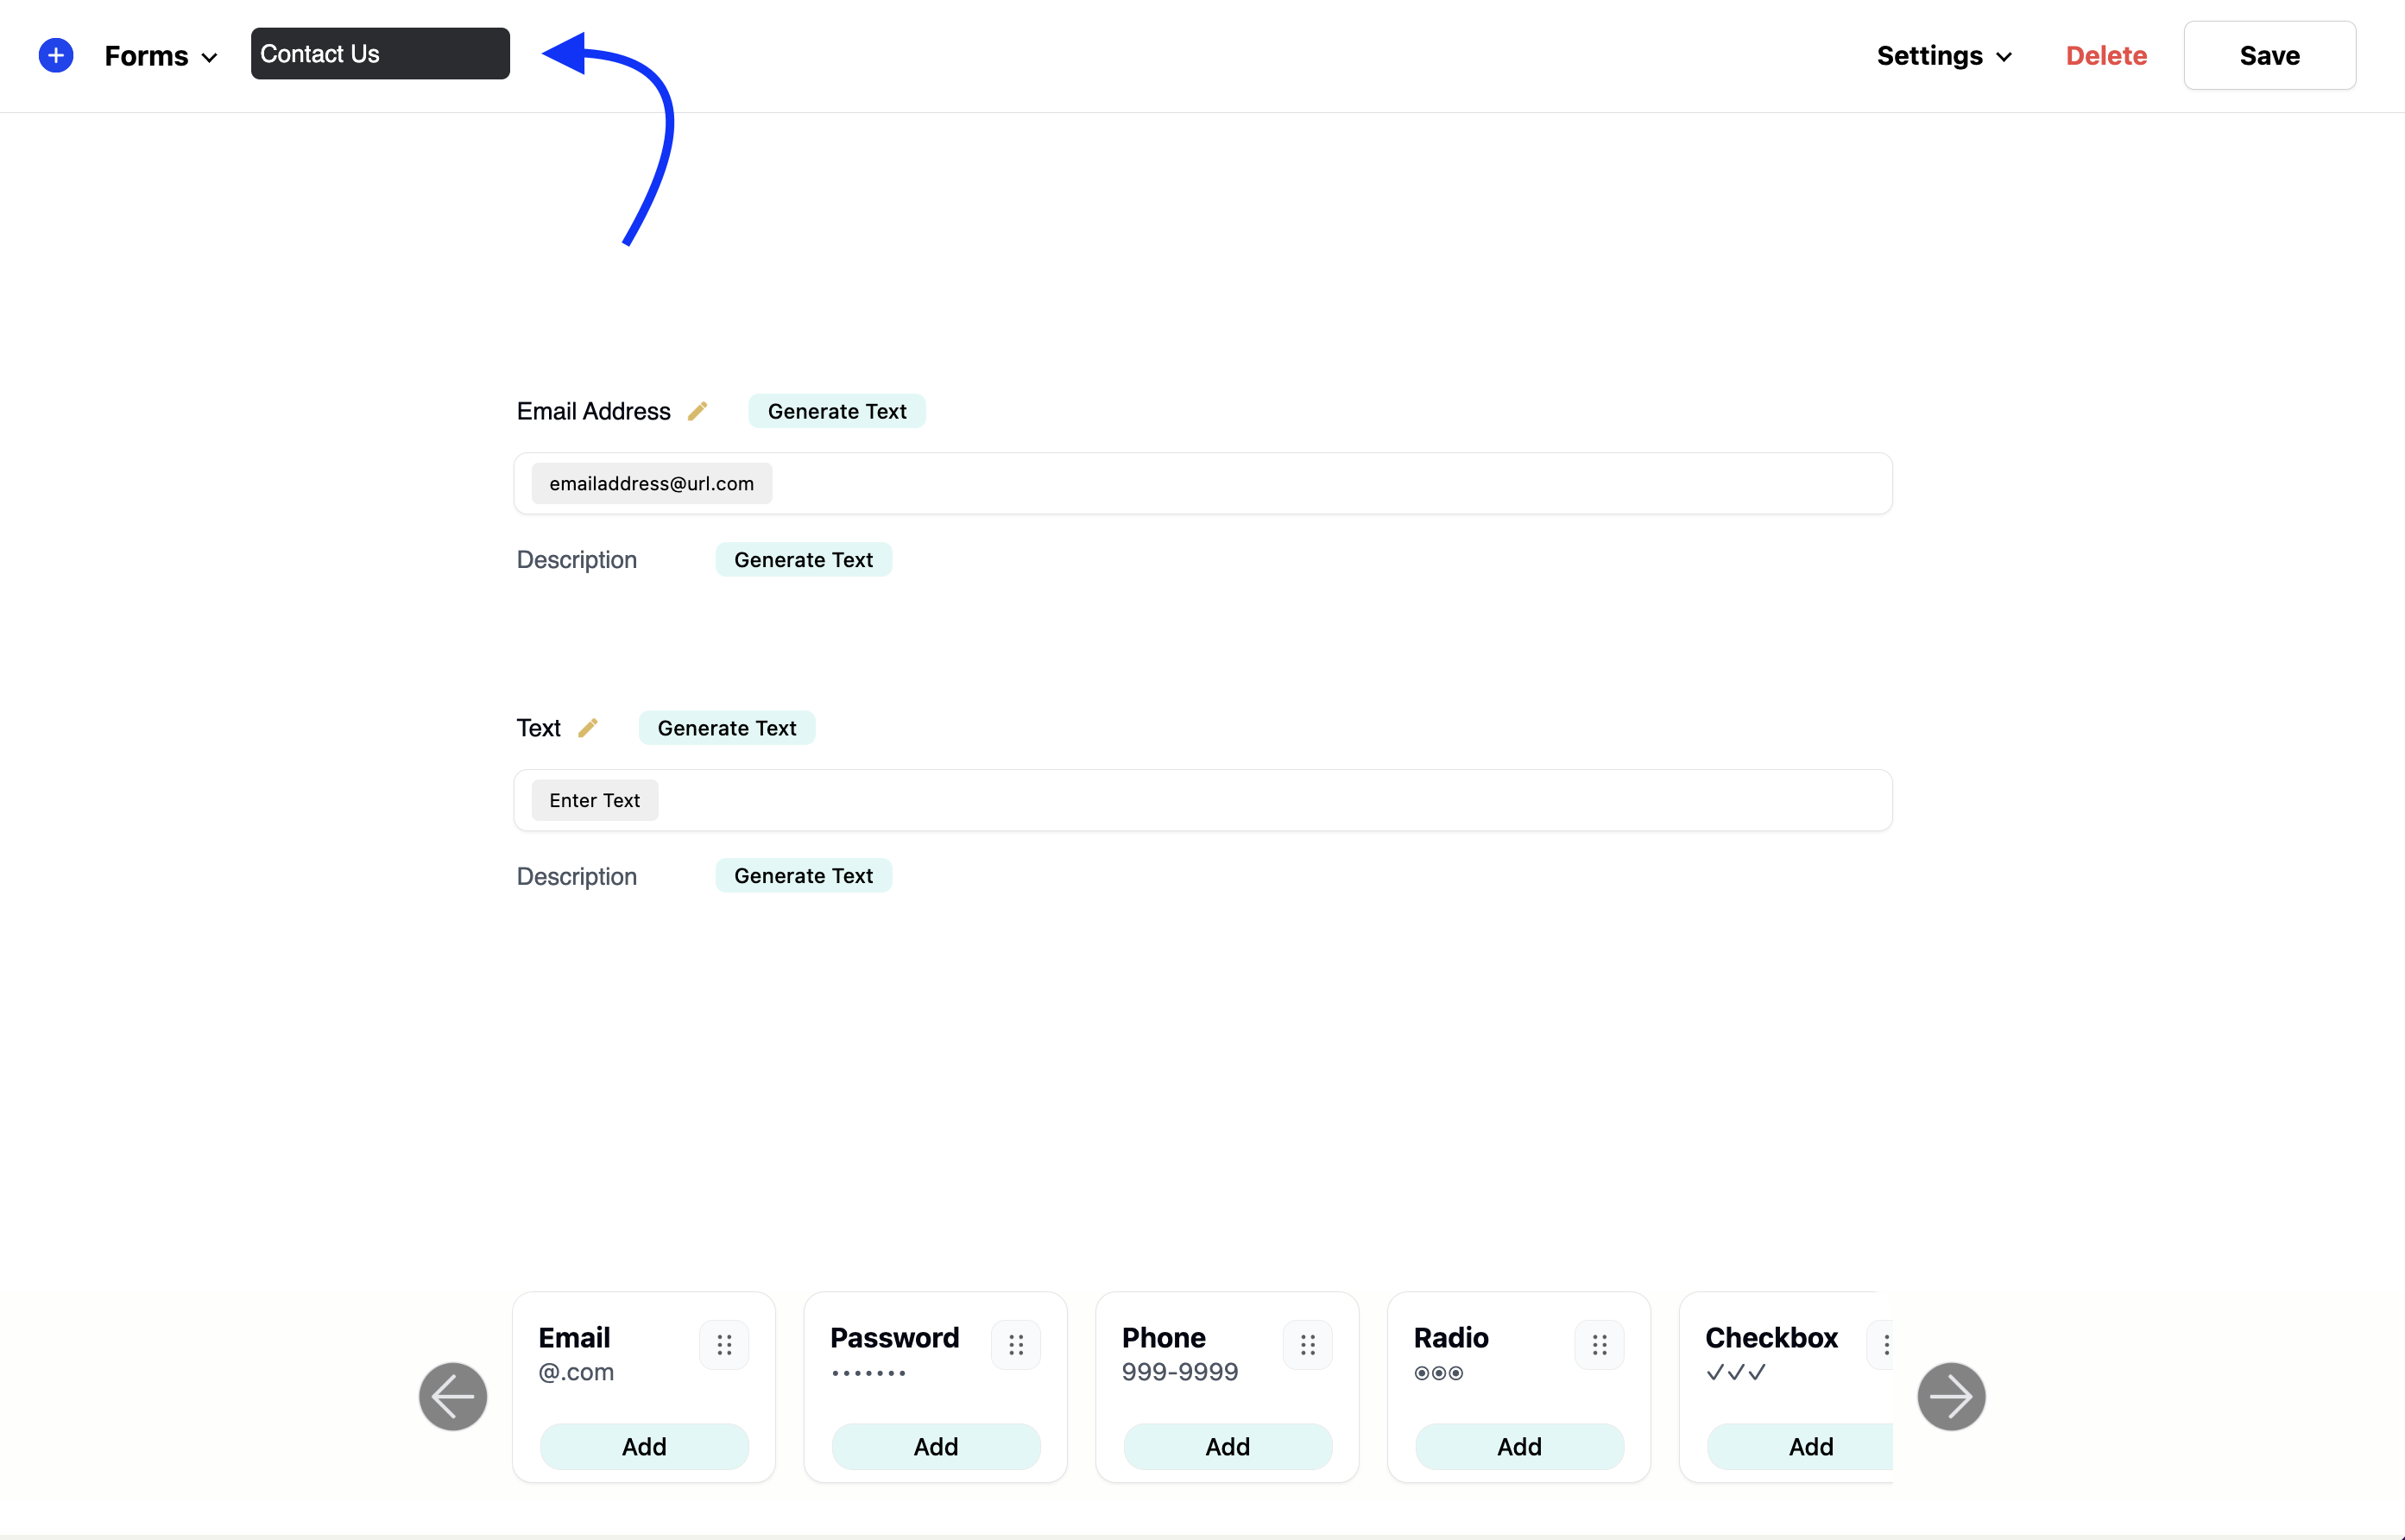
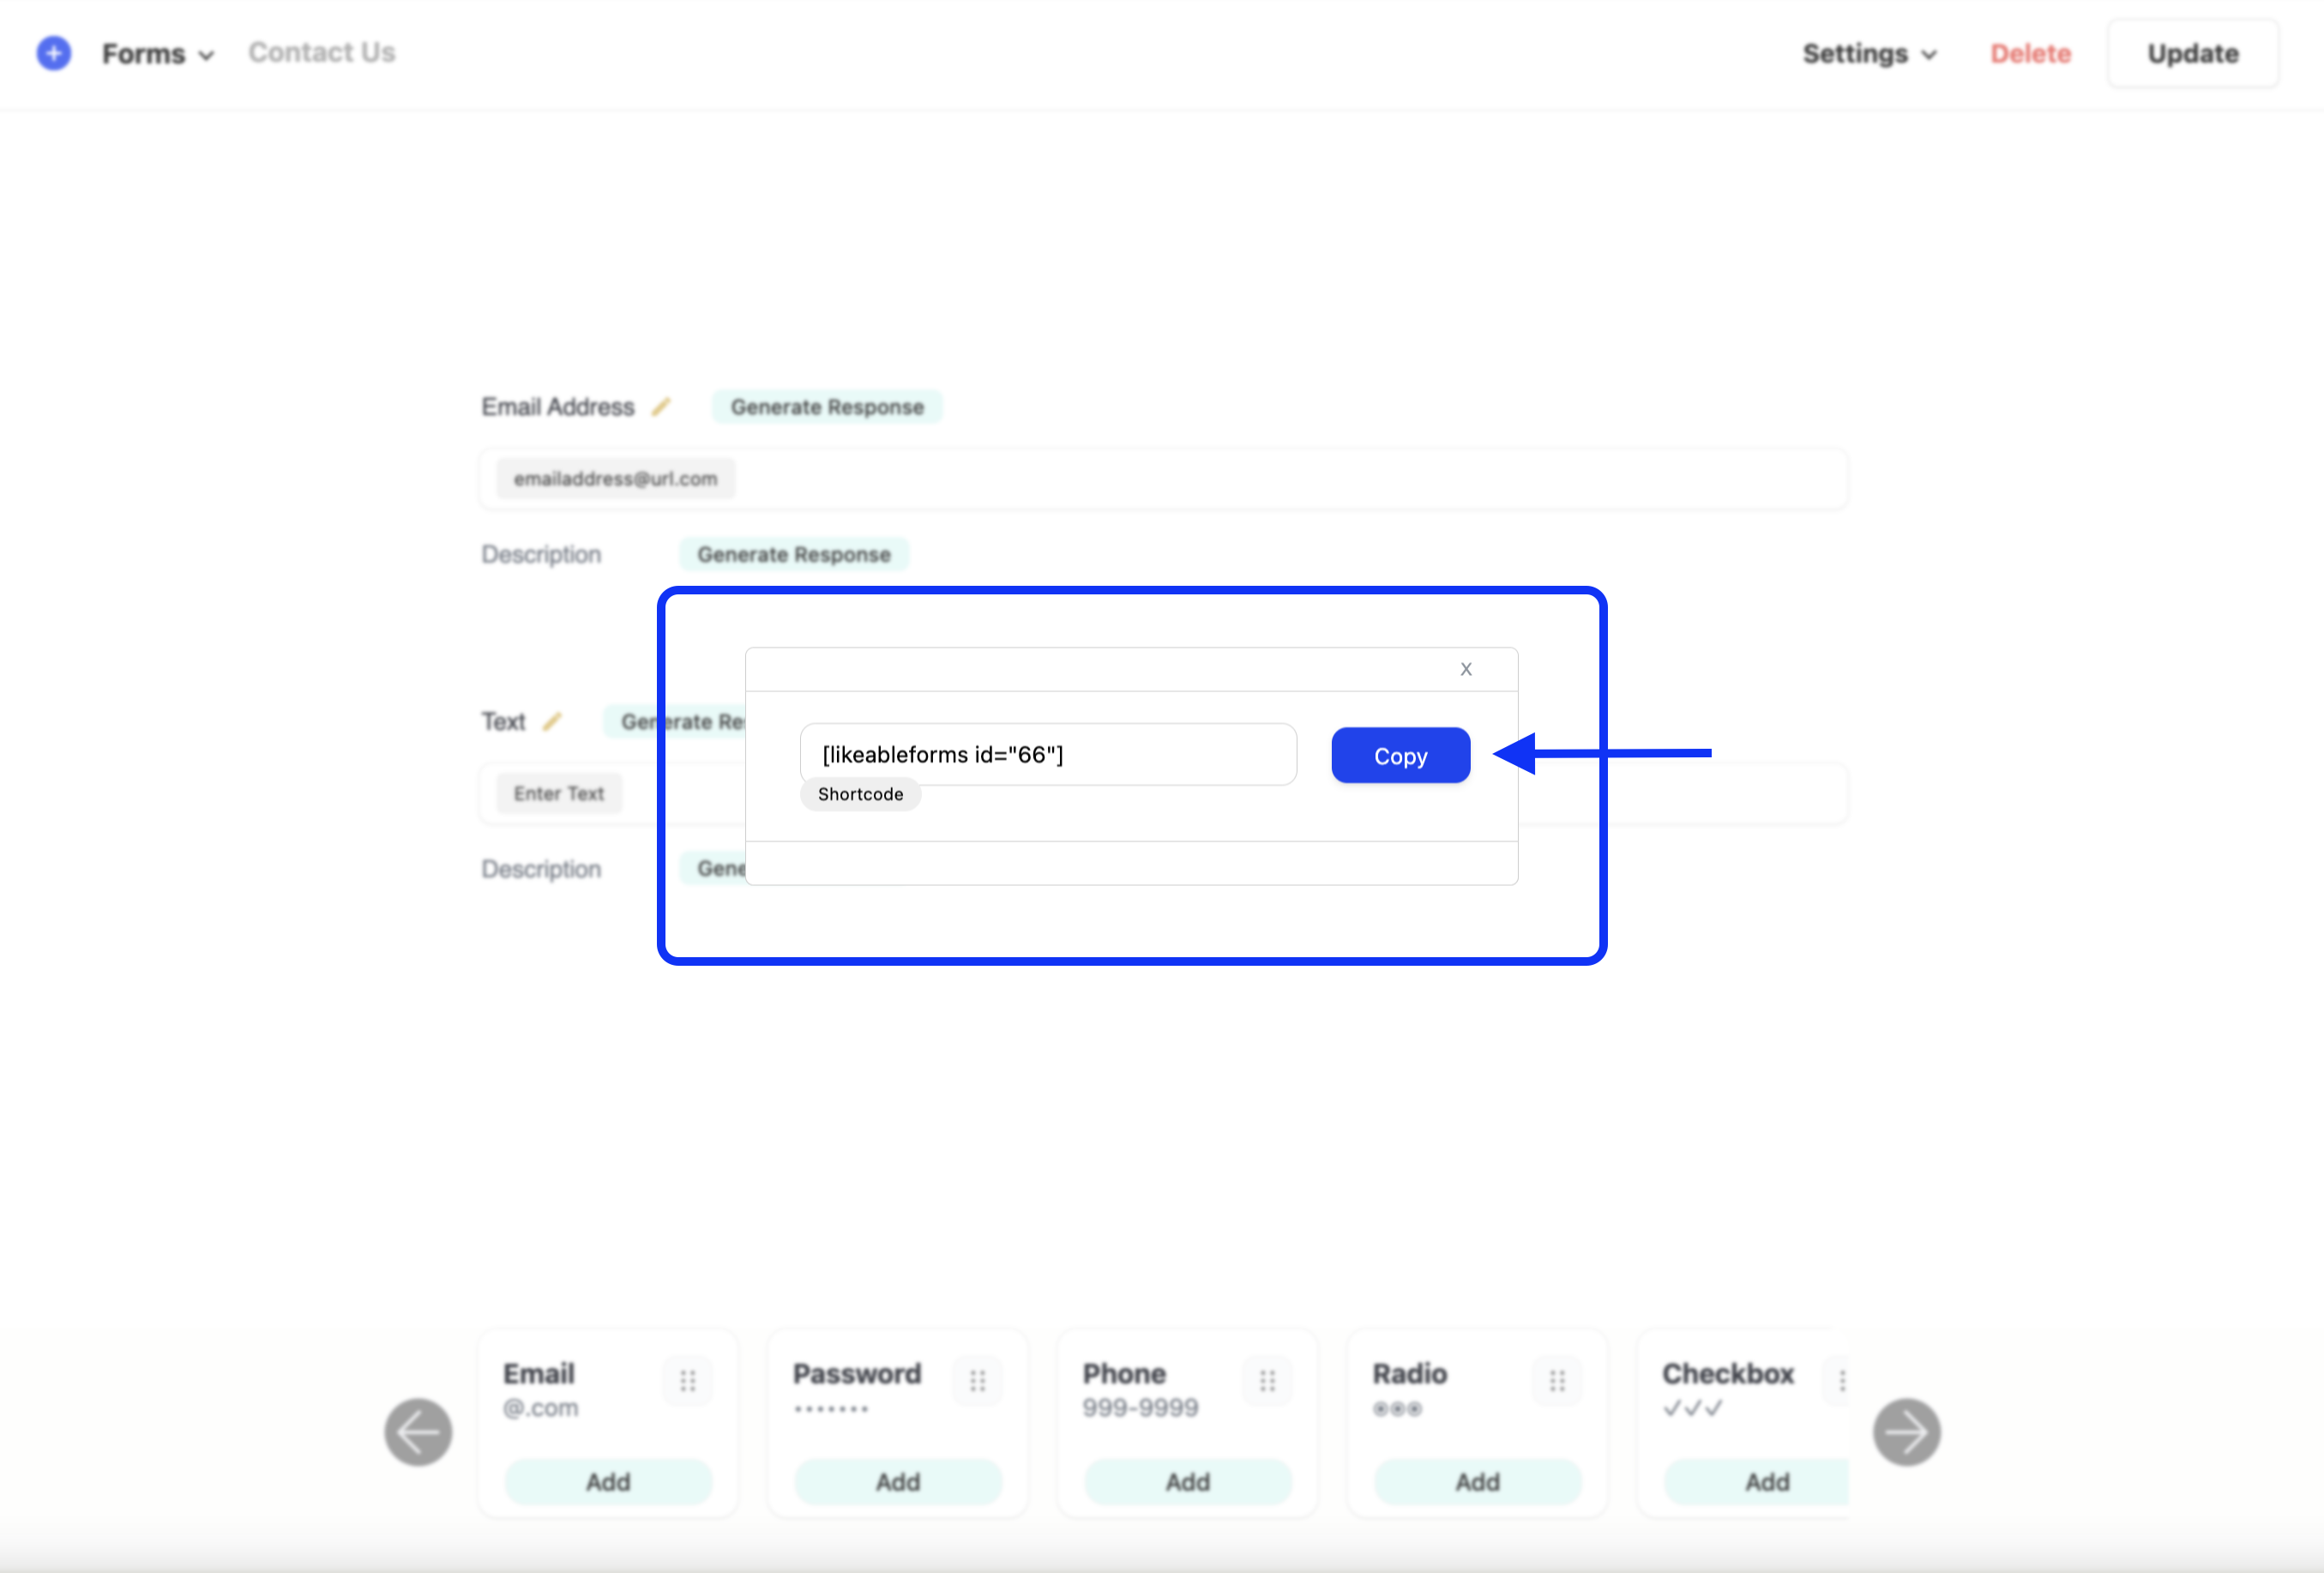
After entering your title, click “save”. Once the form has been saved, the form link modal will appear in the center of your screen. Click “copy” next to the shortcode input to copy the shortcode.
Creating a new web page
Now that our contact form is built, and we have our shortcode, it’s time to create a new web page so that we can embed our form. On the left hand-side of your window, locate the administrative sidebar and hover over the page's menu item, then select add new page. This will automatically create a new WordPress page draft and open either the class WordPress editor or the new Gutenberg block editor.
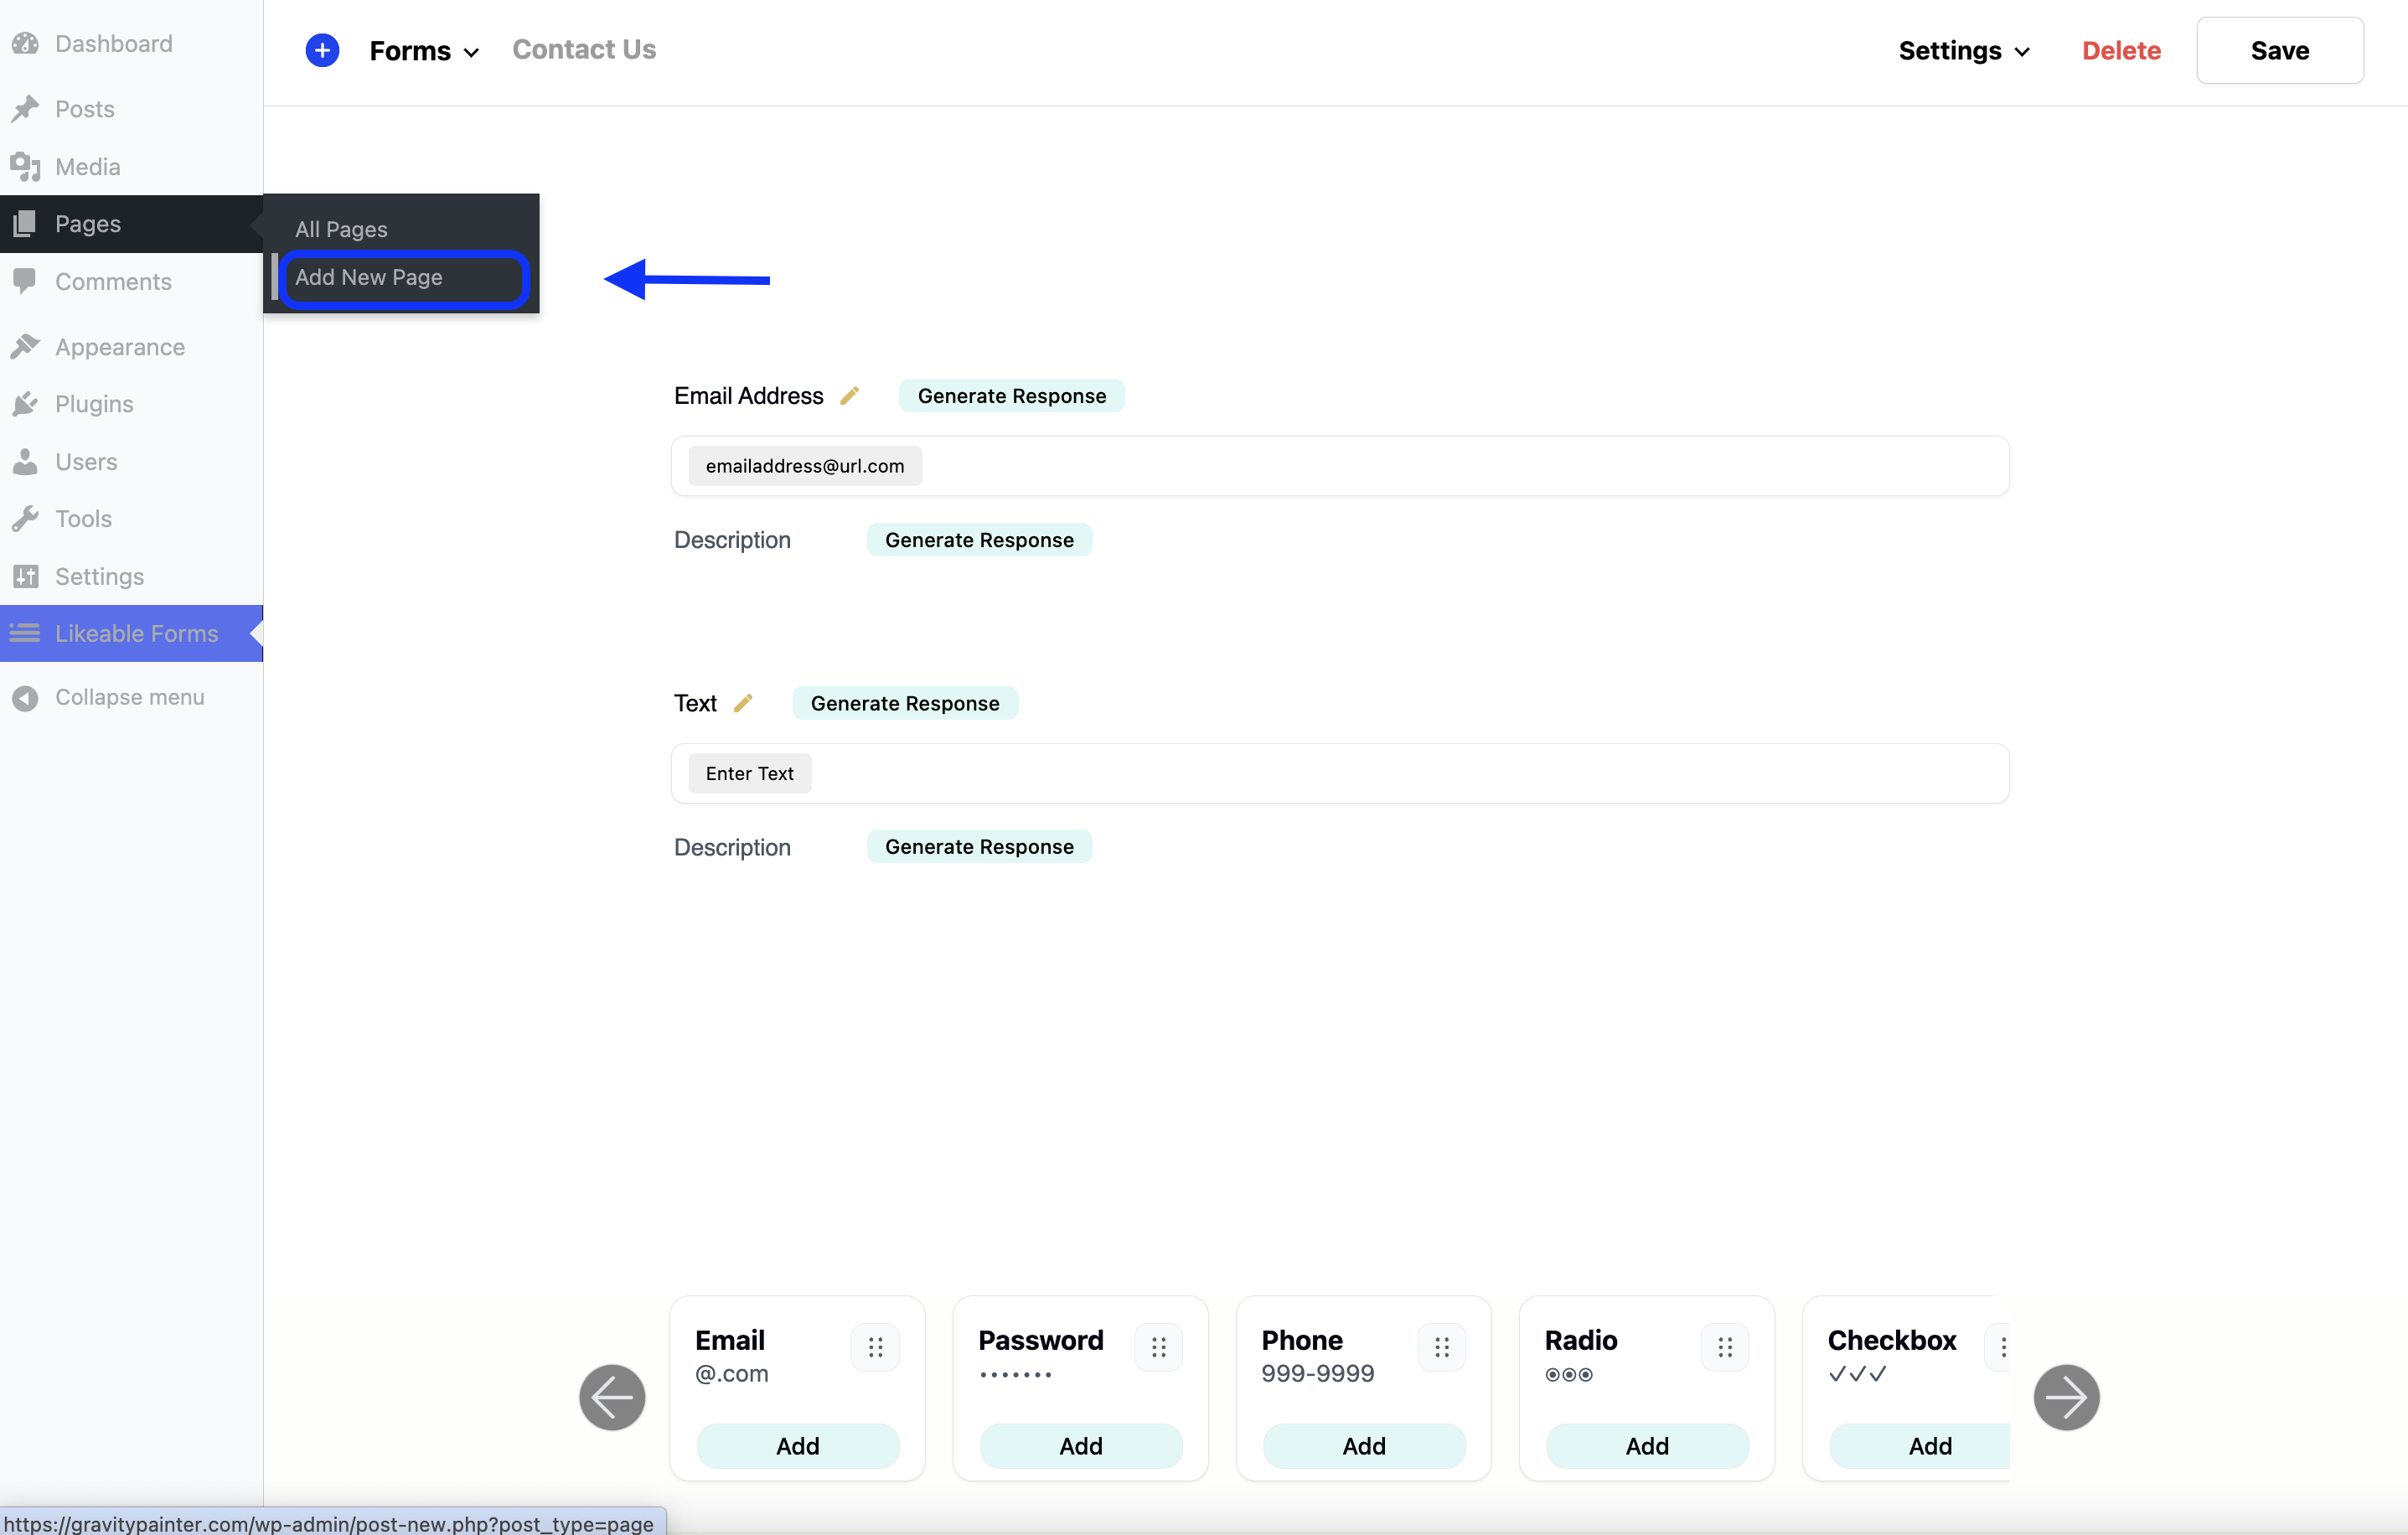
Once the page has been created, we need to and a title for our new page. For this example, we are going to use the same title we used for our contact form for consistency.
Embedding the shortcode
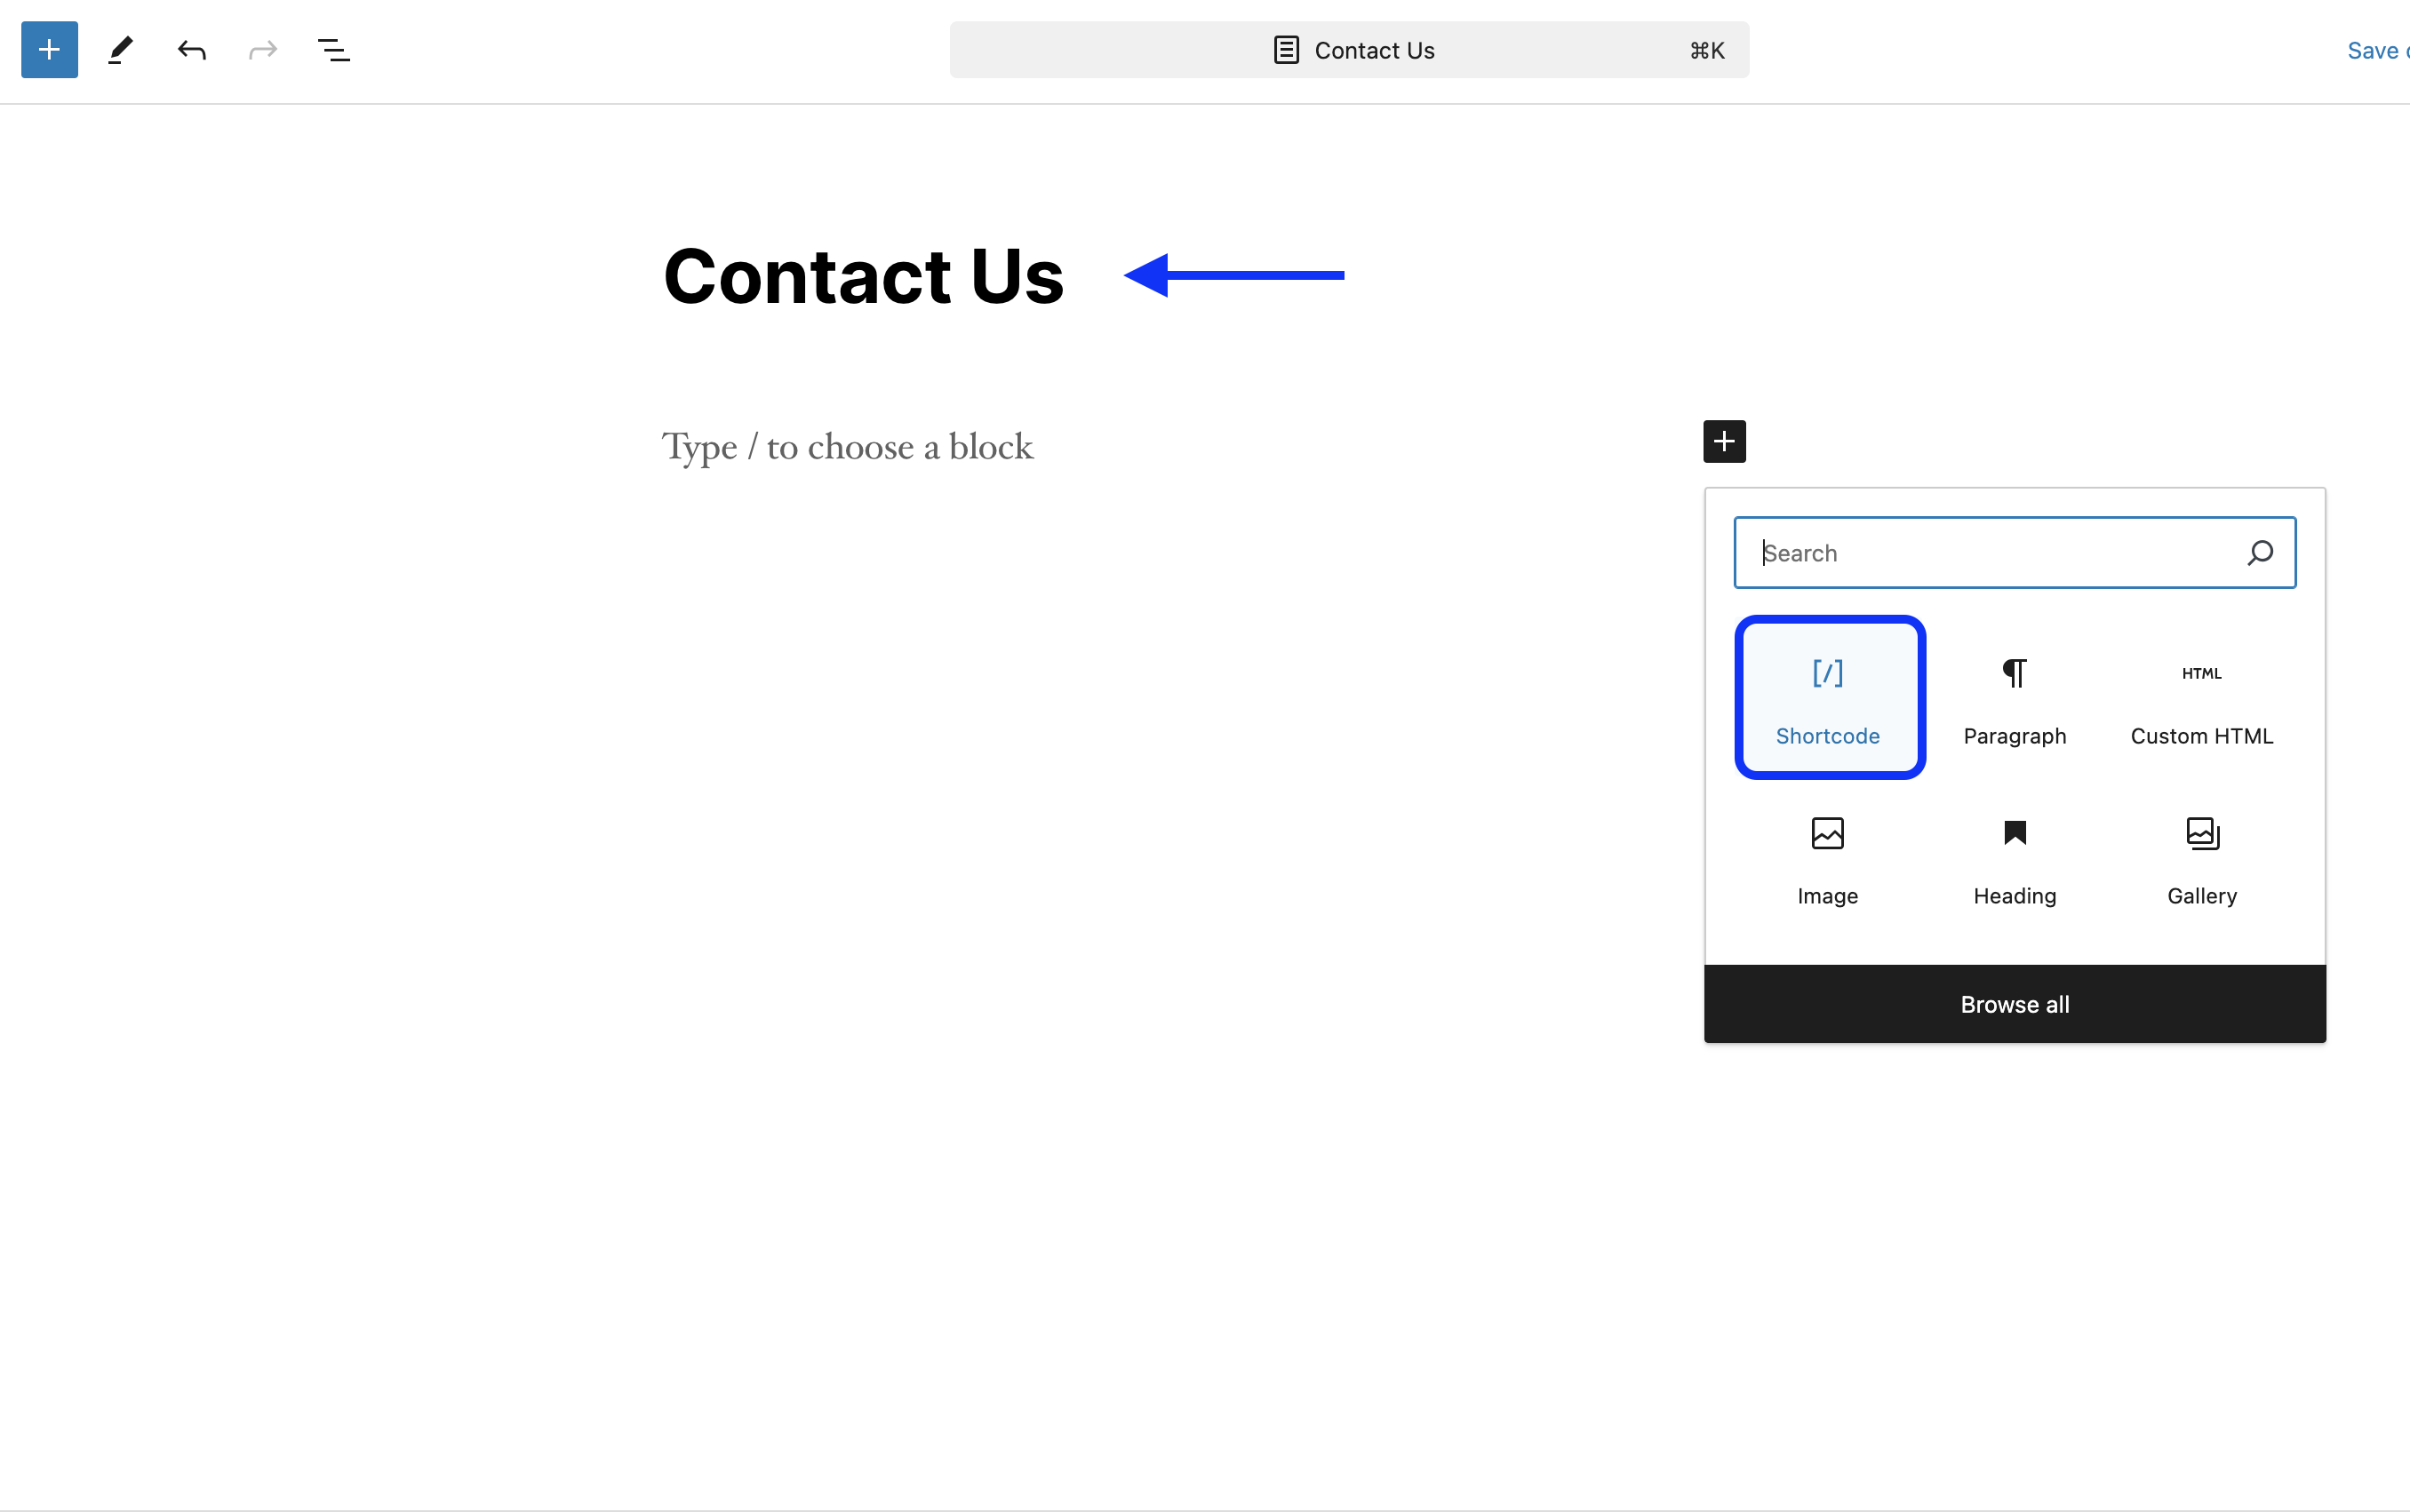
The final step is to add our shortcode. If you are still using the classic editor, you can simply paste the shortcode into the textarea, if your WordPress website is using the Gutenberg editor, you will need to click the plus + icon to open the Gutenberg block menu. Once the menu is open, search for the shortcode block by typing in the word shortcode and then selecting the shortcode option that appears from the dropdown. Once the block has been added to the page, we can now paste in our shortcode.
Lastly, don’t forget to click save to publish your contact us page.
